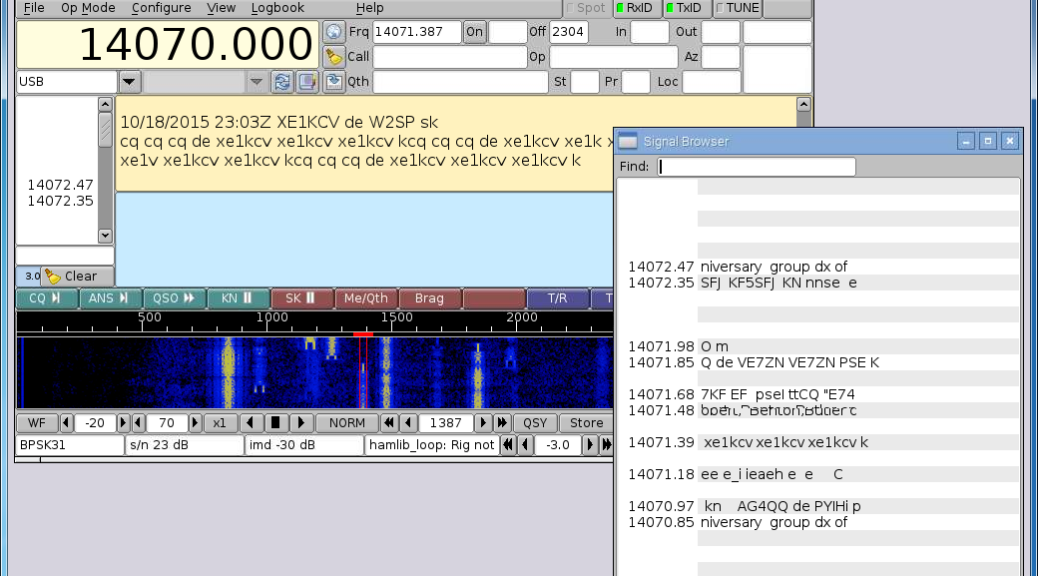
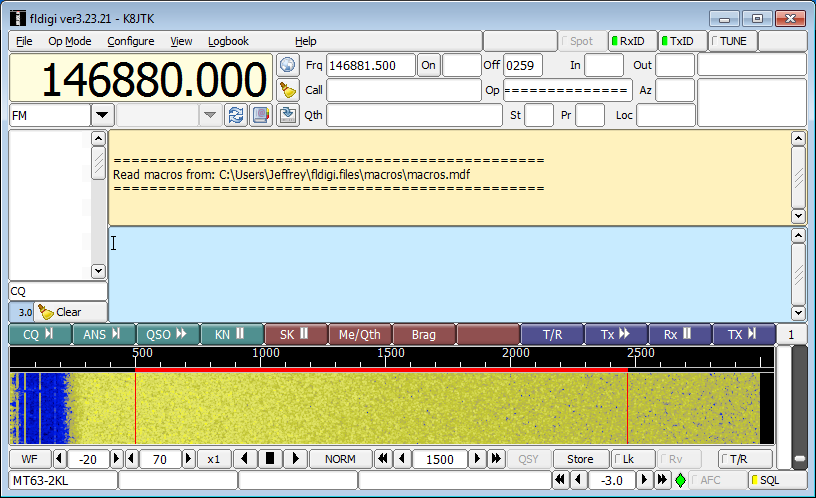
With the popularity of the Raspberry Pi and the growing need of NBEMS, I wondered if it was possible to run NBEMS programs on the Pi. This maybe of interest to those who want to make a Go Kit (box) with digital or a club wants to replace older computers in their operations center with more efficient devices.
Fldigi is the program used and developed for Narrow Band Emergency Messaging System, but it does so much more. It’s also the standard for many Ham Radio operators because of the number of modes the software will operate.
Fldigi stands for Fast Light Digital modem application created by W1HKJ (David Freese, Jr.) and associates. Flmsg is a forms manager with standardized forms like MARS, plaintext messages, Radiograms, Red Cross, and Weather report forms. Flwrap is a file encapsulation and compression tool allowing for reception of a file exactly like the original.
The Fldigi application is open source, public license software meaning it’s free and available for auditing. With the source code available for Linux, I wondered if it was possible to compile the application on the Raspberry Pi.
At first I had some problems with the project. After (wasting) alot of time on it, I had given up. Only to find out the power supply I had been using was the cause of the issues.
Requirements
Work with my SignaLink USB. As a standard with my projects, the Pi can administered through SSH and VNC if needed. On Windows, I use PuTTY and TightVNC.
Assumptions
This guide is step-by-step in nature, meant for beginners, with brief explanations of the steps. It will help to have an understanding of Linux commands and scripting. Capitalization is important in Linux!
Check my other posts for setup guides on using your radio interface (though written for Windows) and Fldigi, Flmsg, and Flwrap.
Program versions
Applications and versions used in this writeup:
- Windows 7 64 bit
- Raspbian Jessie 2015-09-24
- Win32DiskImager 0.9.5
- PuTTY 0.65
- TightVNC 2.7.10 64 bit
- Fldigi 3.23.04
- Flmsg 2.0.12
- Flwrap 1.3.4
Build times
I did a face off for build times between the later model Pi versions: B+, 2, and 3. Later iterations will be faster. The results are in the format of the Linux command time, which contrary to it’s name does not set the time. It gives statistics about this program run. They consist of the elapsed real time between invocation and termination, the user CPU time, and the system CPU time. Later versions than listed above were used in this face off: Raspbian Jessie 2016-05-27, Fldigi 3.23.10, Flmsg 3.0.0, Flwrap is the same at 1.3.4.
Raspberry Pi B+
Failed. Apparently there is an issue running the Make command for Fldigi with versions later than the ones I originally used in this writeup. By the error messages this is an internal g++ compiler error. Make does not fail on the Pi 2 and 3 which probably means it’s a hardware issue (out of memory).
The error is “Warning: partial line at end of file ignored” for dialogs/fldigi-confdialog.o.
Raspberry Pi 2
real 21m49.783s
user 72m9.970s
sys 2m39.290s
Raspberry Pi 3
real 12m50.129s
user 42m8.980s
sys 1m19.160s
Parts list
Listed below are all the parts needed to get this project working. It is noted when items can be left out or substituted.
- Raspberry Pi 2, Raspberry Pi 3, or later model. Costs are the same and the later models compile MUCH quicker!
- Adafruit Raspberry Pi B+ / Pi 2 Case – Smoke Base w/ Clear Top or select any of the other enclosures.
- SignaLink USB and correct cable for your radio (pictures).
- Radio to connect to the SignaLink. See above links for radios that work with the SignaLink. For logging, a radio compatible with Hamlib is recommended.
- Miniature WiFi (802.11b/g/n). Exclude if going to use in a wired configuration or will not have Internet access. Consider a Pi 3 which has built in WiFi.
- 5V 1A (1000mA) USB port power supply
- Powered USB hub. Plug in the USB devices -keyboard, mouse, and SignaLink- to offload power consumption from the Pi — or try a good 2A USB power supply for the Pi.
- SD/MicroSD Memory Card 8GB or larger.
- USB MicroSD Card Reader/Writer – microSD / microSDHC / microSDXC or a SD Card Reader/Writer that can handle SDHC cards.
- USB Cable – Standard A-B – 3 ft. If you need one for the SignaLink USB.
- USB cable – A/MicroB
- Ethernet Cable
- HDMI monitor or Television. Recommend 14″ or larger. The Fldigi window will not fit in the resolution of the RCA (Composite Video) output or the official Raspberry Pi touchscreen.
- HDMI Cable for video.
- Basic USB keyboard. I used an off-brand 5V 50mA.
- Basic USB mouse. I used a Microsoft optical wheel mouse.
That’s all the parts needed for this project. Check out the AdaFruit Raspberry Pi page for other hardware that might be useful, like the USB to PS/2 adapter for example. Many of these parts are included in the Raspberry Pi Starter Pack.
If the Pi is setup where there may not be Internet, want to consider purchasing a Real Time Clock (RTC) addon. The Pi will keep time after power has been removed. Of course the time would just have to be set each time.
Flmsg custom forms
In order for custom forms to be used in Flmsg, version 2.0.17 or later must be used. There was a bug in previous versions that didn’t allow the forms to be parsed correctly. In addition, another browser needs to be installed as the default is unable to connect to the webserver created by Flmsg. Thanks to Ken – W0KAH for determining this issue and getting it resolved with the program author.
Linux package installer
The version available from the package manager could be installed but that version is several revisions behind which won’t have the latest enhancements. Some repositories don’t have Flmsg and Flwrap which makes it hard for NBEMS operation.
sudo apt-get -y install fldigi
sudo apt-get -y install flmsg flwrap
If it doesn’t work, you’ll get a message like:
E: Unable to locate package flmsg

