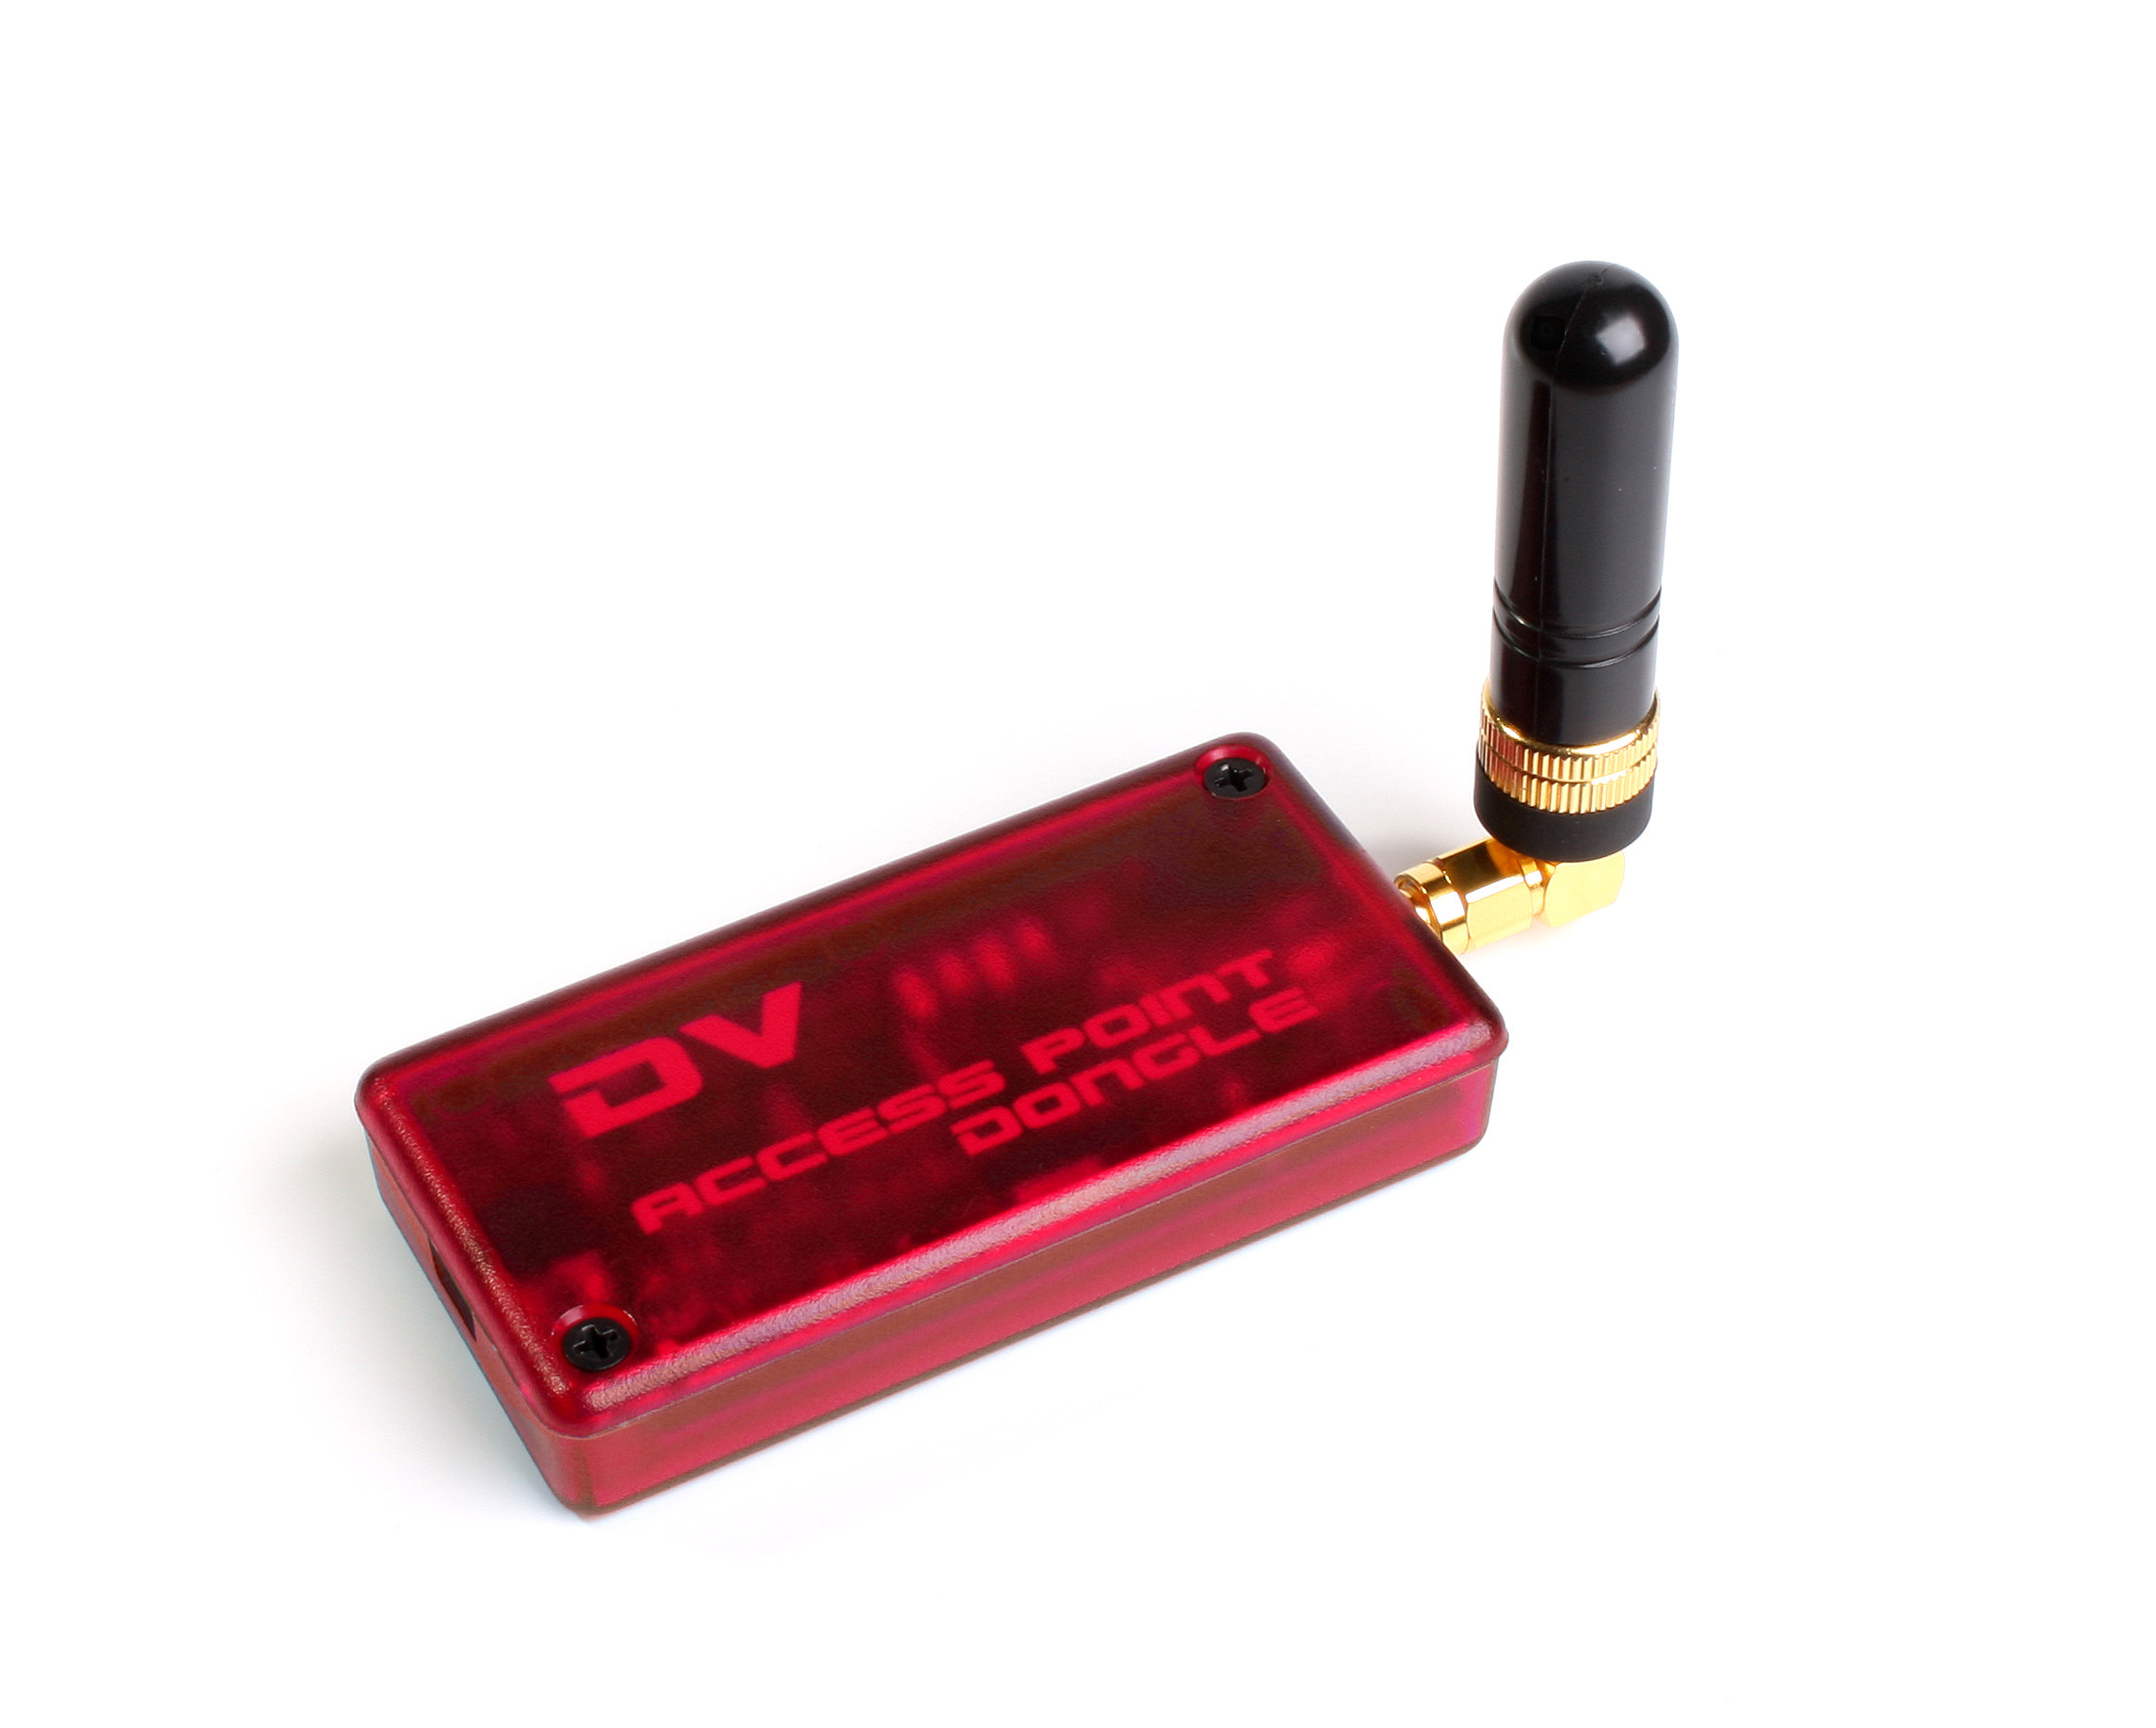
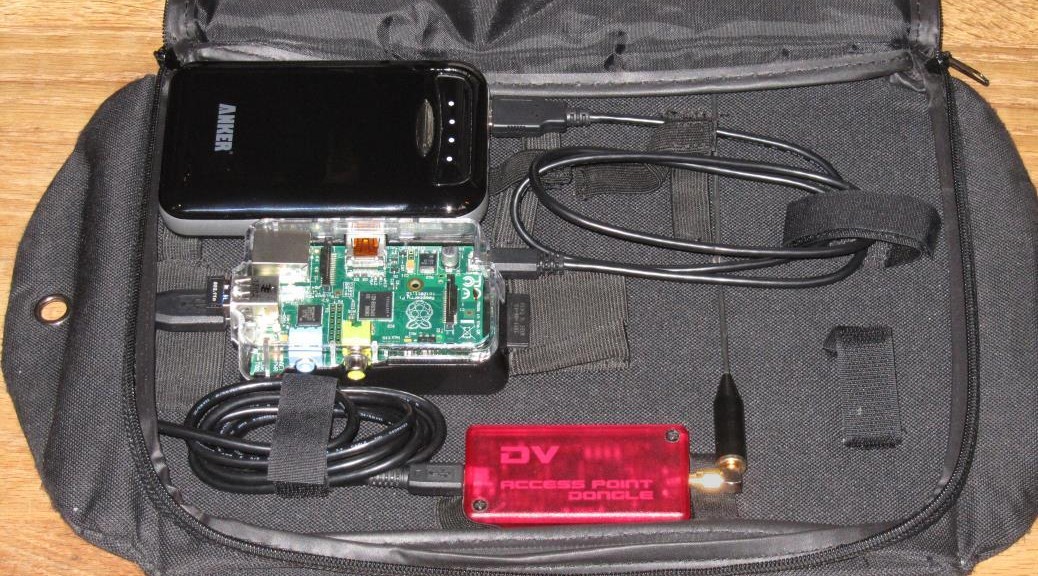
 One of my interests is digital modes, so I’m a D-STAR fan. My first project with the Raspberry Pi would be the DVAP Pi Hotspot. The DVAP normally connects to a computer and has a low power, 10 mW 2m or 440 transceiver that works with a D-STAR radio. It passes the bits from the Internet & D-STAR network over the air to your D-STAR radio and vice versa. The radio does the encoding and decoding.
Thanks goes out to the guys over at AmateurLogic.TV. Tommy, N5ZNO, did a DVAP Pi segment in episode 57 that I used to build mine.
Requirements
Much like Tommy, my DVAP Pi had to be portable (battery operated), headless (no monitor, autostart), use a cellphone WiFi hotspot, and administered through SSH and VNC if needed. On Windows, I use PuTTY and TightVNC. On Android, I use JuiceSSH and PocketCloud.
Assumptions
With this tutorial, I’m assuming anyone setting this up is already familiar with D-STAR, registered on the D-STAR network, and familiar with using the DVAP on a PC.
This guide is step-by-step in nature, meant for beginners, with brief explanations of the steps. It will help to have an understanding of Linux commands and scripting. Capitalization is important in Linux!
DPRS problem
I was hoping to use the DVAP Pi as a portable DPRS (D-STAR APRS) iGate to report location data to the APRS network. It currently does not. It only reports D-PRS data to the gateway system you’re connected to. No further. It will show up on the gateway’s DPlus Dashboard but the DVAP Tool nor the gateway/reflector/repeater will not pass location data to the APRS network.
If you come over the RF side of a repeater with a GPS enabled radio, it will pass the location data to the APRS network. The repeater will not pass location data to the APRS network when transmitting through a DVAP linked to the system.
This is true when the DVAP is connected to a PC or the Pi.
Program versions
I used a Windows 7 64 bit PC. Applications and versions used in this writeup:
- Wheezy Raspbian 2014-01-07
- Win32 Disk Imager 0.9
- PuTTY 0.63
- TightVNC 2.7.10 64 bit
- DVAPTool 1.04
- Mobile Hotspot ? (added after publishing)
- JuiceSSH ? (added after publishing)
- PocketCloud ? (added after publishing)
Parts list
Listed below are all the parts needed to get this project working. It is noted when items can be left out or substituted.
- Raspberry Pi Model B
- DVAP. As far as I know, both the 2 meter and 440 version will work in this setup.
- D-STAR radio
- Cellphone with Tethering/WiFi hotspot (exclude if not going to use in a portable/mobile setup).
- Adafruit Pi Case- Enclosure for Raspberry Pi Model A or B (or select any of the other enclosures).
- Miniature WiFi (802.11b/g/n) (exclude if not going to use in a portable setup).
- 5V 1A (1000mA) USB port power supply
- Anker Astro E5 15000mAh External Battery (exclude if not going to use in a portable setup).
- SD/MicroSD Memory Card 4GB
- USB MicroSD Card Reader/Writer – microSD / microSDHC / microSDXC (or a SD Card Reader/Writer that can handle SDHC cards).
- USB cable – A/MicroB
- USB cable – 6″ A/MiniB
- Ethernet Cable
- NTSC/PAL (Television) TFT Display – 4.3″ Diagonal or HDMI 4 Pi – 7″ Display 1280×800 (720p) IPS (exclude if an RCA or HDMI TV/Monitor is available).
- RCA (Composite Video, Audio) or HDMI Cable for video (exclude if an RCA or HDMI cable is available).
- A basic USB keyboard. I used an off-brand 5V 50mA.
- A basic USB mouse. I used a Microsoft optical wheel mouse.
- A case to put it all in. Any will do.
That’s all the parts needed for this project. Check out the AdaFruit Raspberry Pi page for other hardware that might be useful, like the USB to PS/2 adapter for example. Many of these parts are included in the Raspberry Pi Starter Pack.
Downloads
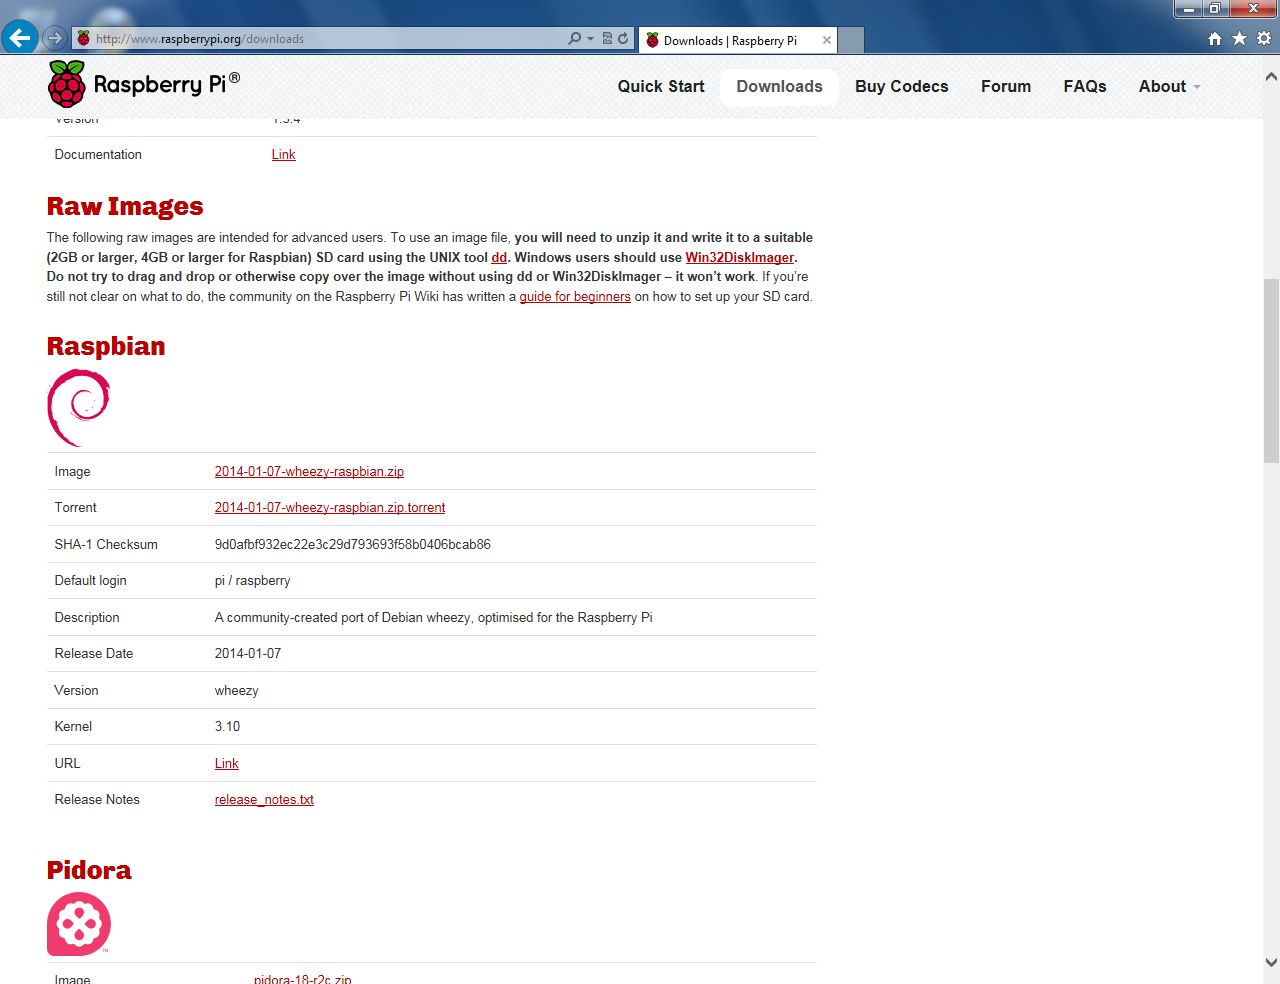
Go to http://www.raspberrypi.org/downloads and find the “Raw Images” section.
Download the Win32DiskImager and Raspbian image (800 MB). Save them in your Downloads folder.

