Booting and configuring Raspbian Jessie
Insert the SD card into the Raspberry Pi. Connect the HDMI cable, monitor, Ethernet, USB keyboard, and USB mouse. Plug in the USB power supply and the USB A/MicroB cable. Connect the MicroB to the power connector on the Pi.
Most of the LEDs by the USB connectors will come on. You may see the initial color test pattern and a bunch of stuff scrolling on the monitor. It’s booting!
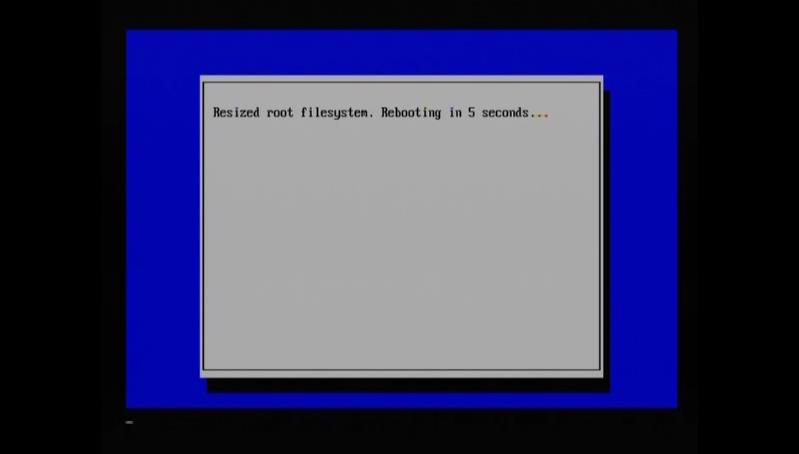
On first boot, the operating system will automatically resize the root filesystem to use the entire SD card. Previously this needed to be configured manually.
The Pi will reboot.
When it’s finished booting, it will enter the graphical user desktop.
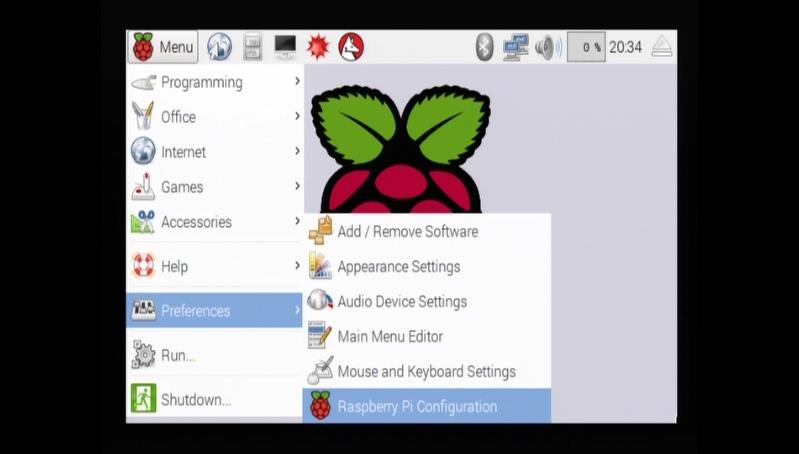
Configure the Pi by clicking Menu.
Select Preferences.
Click Raspberry Pi Configuration.
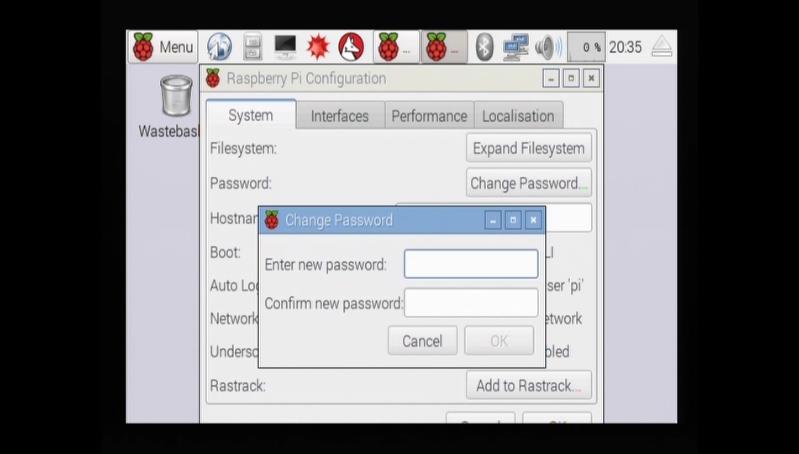
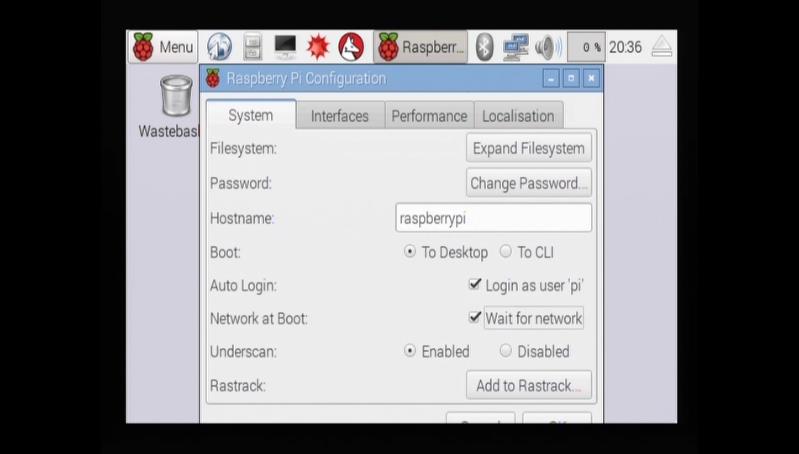
Click Change Password.
Enter a new password and confirm password.
Click OK.
Enter a unique hostname or network label for the Pi.
Boot option can be set To CLI (Command-line interface). There isn’t anything that needs the graphical interface.
When setting the IGate at a remote site you probably want to uncheck Login as user “pi” so visitors don’t snoop around.
For Network at boot, check Wait for network. This will wait for a network connection to be established before completing the boot process. If the network is not available when the pymultimonaprs service starts, the connection to APRS-IS will fail.
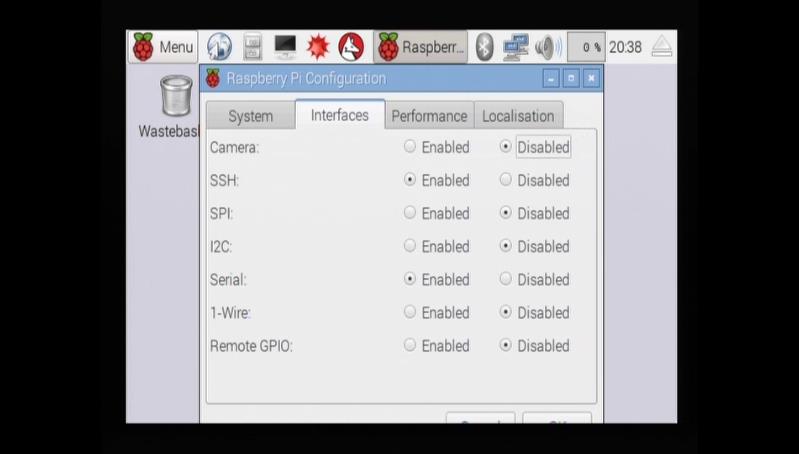
Click the Interfaces tab.
The SSH service should already be enabled.
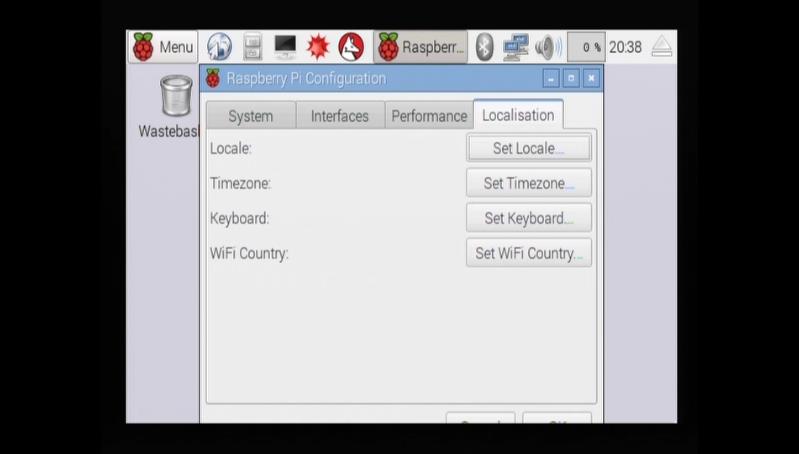
Click the Localisation tab.
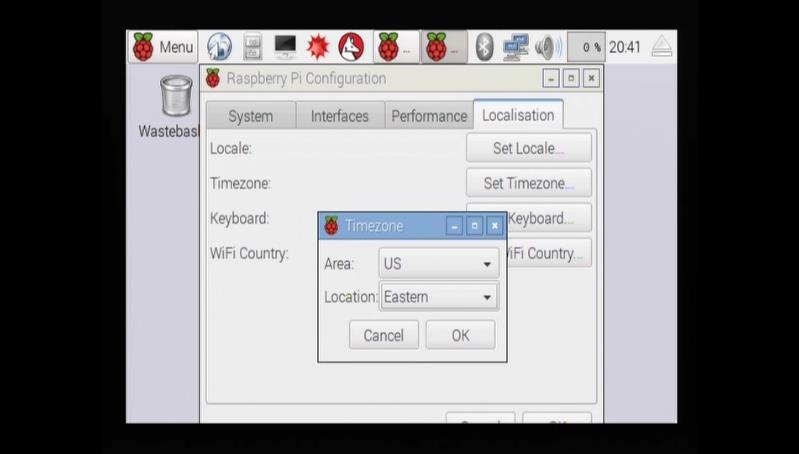
Click Set Timezone.
Select US (or your region).
Select Eastern (or your time zone).
Click OK.
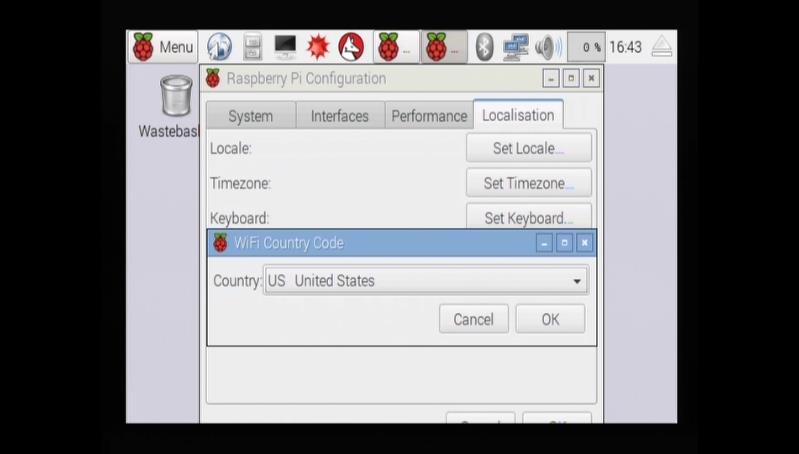
Click Set WiFi Country.
Select US United States (or your country).
Click OK.
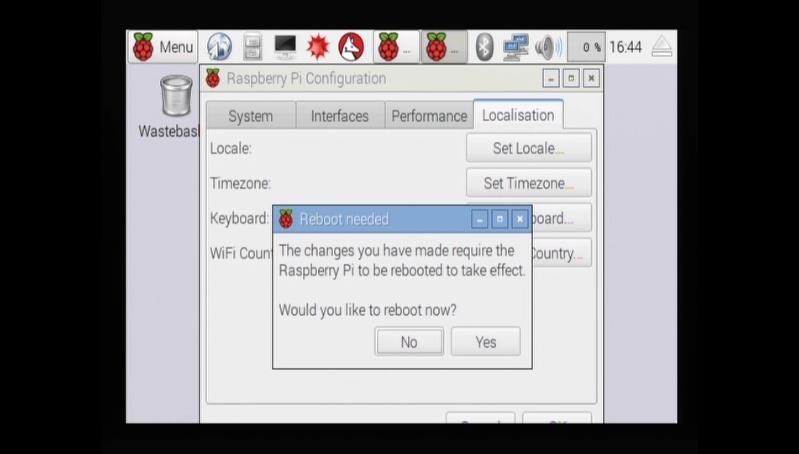
Click OK on the Raspberry Pi Configuration (button on the right, cutoff on screen).
Click Yes to reboot.
The operating system is configured!
More bits
At anytime, the Raspberry Pi Configuration tool can be run again by starting it again from the menu or click Terminal and type in
sudo raspi-config
