One of the responsibilities of the Technical Coordinator in the Ohio Section is to submit something for the Section Journal. The Section Journal covers Amateur Radio related things happening in and around the ARRL Ohio Section. It is published by the Section Manager Scott – N8SY and articles are submitted by cabinet members.
Once my article is published in the Journal, I will also make it available on my site with a link to the published edition.
You can receive the Journal and other Ohio Section news by joining the mailing list Scott has setup. You do not need to be a member of the ARRL, Ohio Section, or even a ham to join the mailing list. Please sign up!
If you are an ARRL member and reside in the Ohio Section, update your mailing preferences to receive Ohio Section news in your inbox. Those residing outside the section will need to use the mailing list link above.
Updating your ARRL profile will deliver news from the section where you reside (if the leadership chooses to use this method).
Go to www.arrl.org and logon.
Click Edit your Profile.
You will be taken to the Edit Your Profile page. On the first tab Edit Info, verify your Email address is correct.
Click the Edit Email Subscriptions tab.
Check the News and information from your Division Director and Section Manager box.
Click Save.
Now without further ado…
Read the full edition at: http://n8sy2.blogspot.com/2016/06/june-edition-of-ohio-section-journal.html
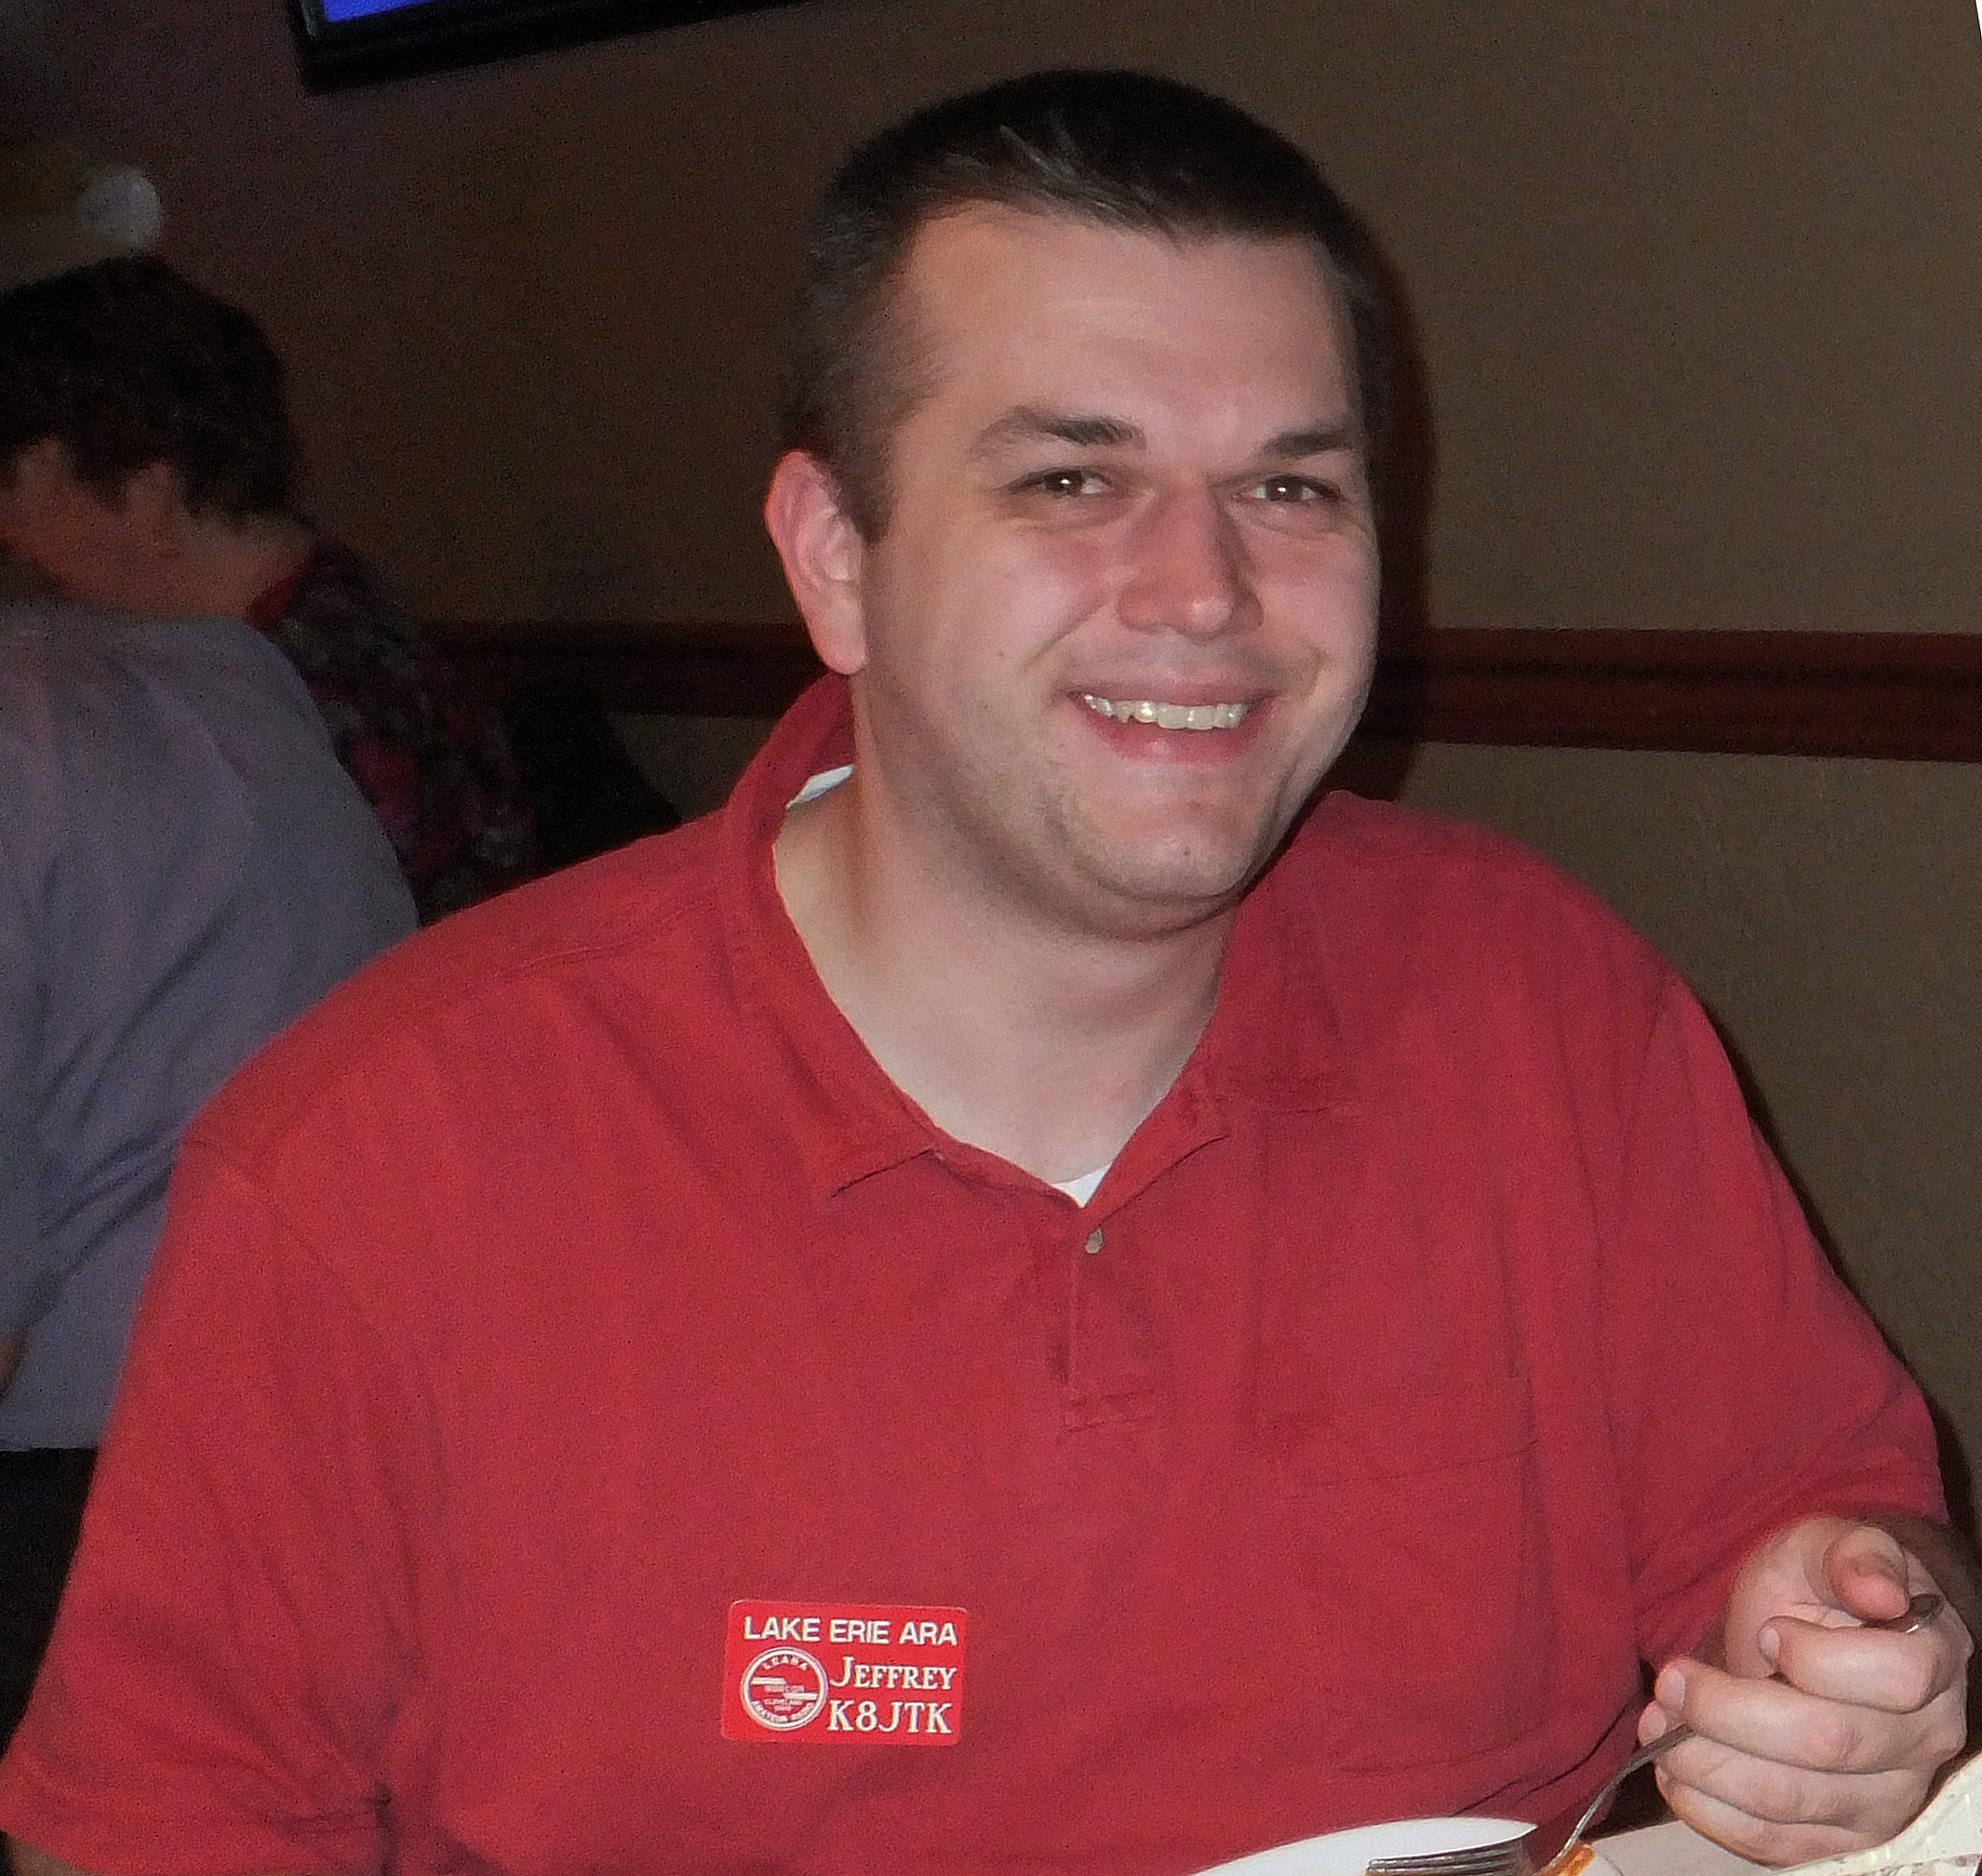
THE TECHNICAL COORDINATOR
Jeff Kopcak – TC
k8jtk@arrl.net
 Hey Gang,
You’re reading this so you survived another Dayton. My dad N8ETP and I went down on Thursday. We stopped at MCM Electronics. It was actually on the way because we stayed south of Dayton this year. My dad was looking for some parts. I ended up buying another Raspberry Pi 3 on a Dayton weekend special and an Arduino Uno board. The Arduino was cheap and a lot smaller than I expected. Don’t have much lined up for it but I did want to try a project I saw on AmateurLogic.TV some time ago.
 The difference between the Raspberry Pi and Arduino Uno boards is the Pi can run a full operating system (usually Linux) while the Arduino Uno runs instruction sets uploaded to memory. Variants of the Arduino can run entire operating systems. Both have General Purpose Input/Output (GPIO) pins for interfacing. I haven’t mentioned it in this space – Raspberry Pi 3 is the latest addition to the line of cheap micro-computer devices. The Pi 3 has all the features of the Pi 2 with an upgraded CPU to 1.2 GHz 64 bit, built in Wireless N LAN, Bluetooth 4.1 and Low Energy (LE). All of this goodness (still) at $35 in the same form factor. I ran a compile of Fldigi/Flmsg for comparison. The Pi 2 compiled the programs in about 22 minutes, the Pi 3 compiled in about 13 minutes.
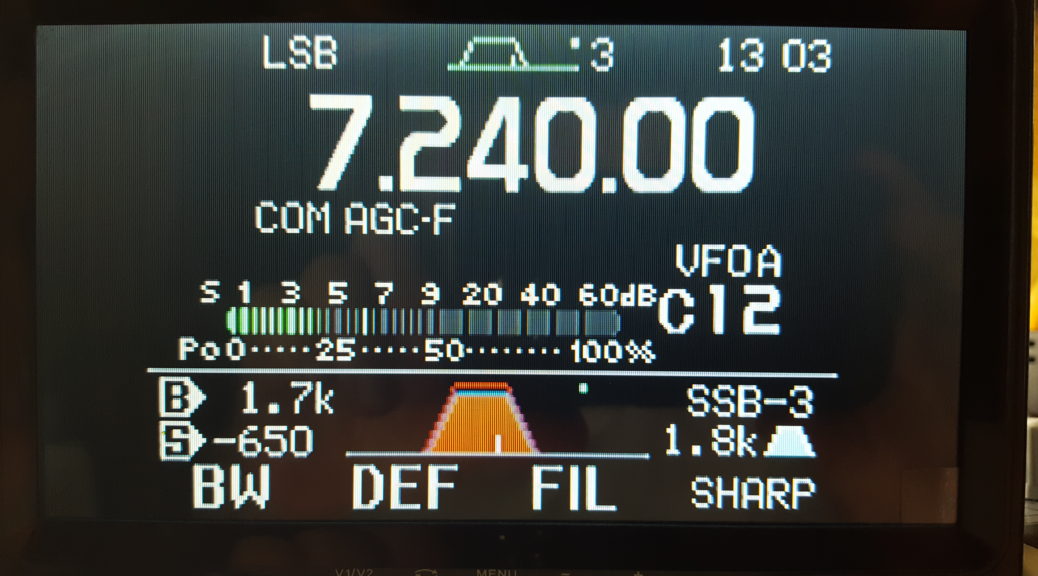
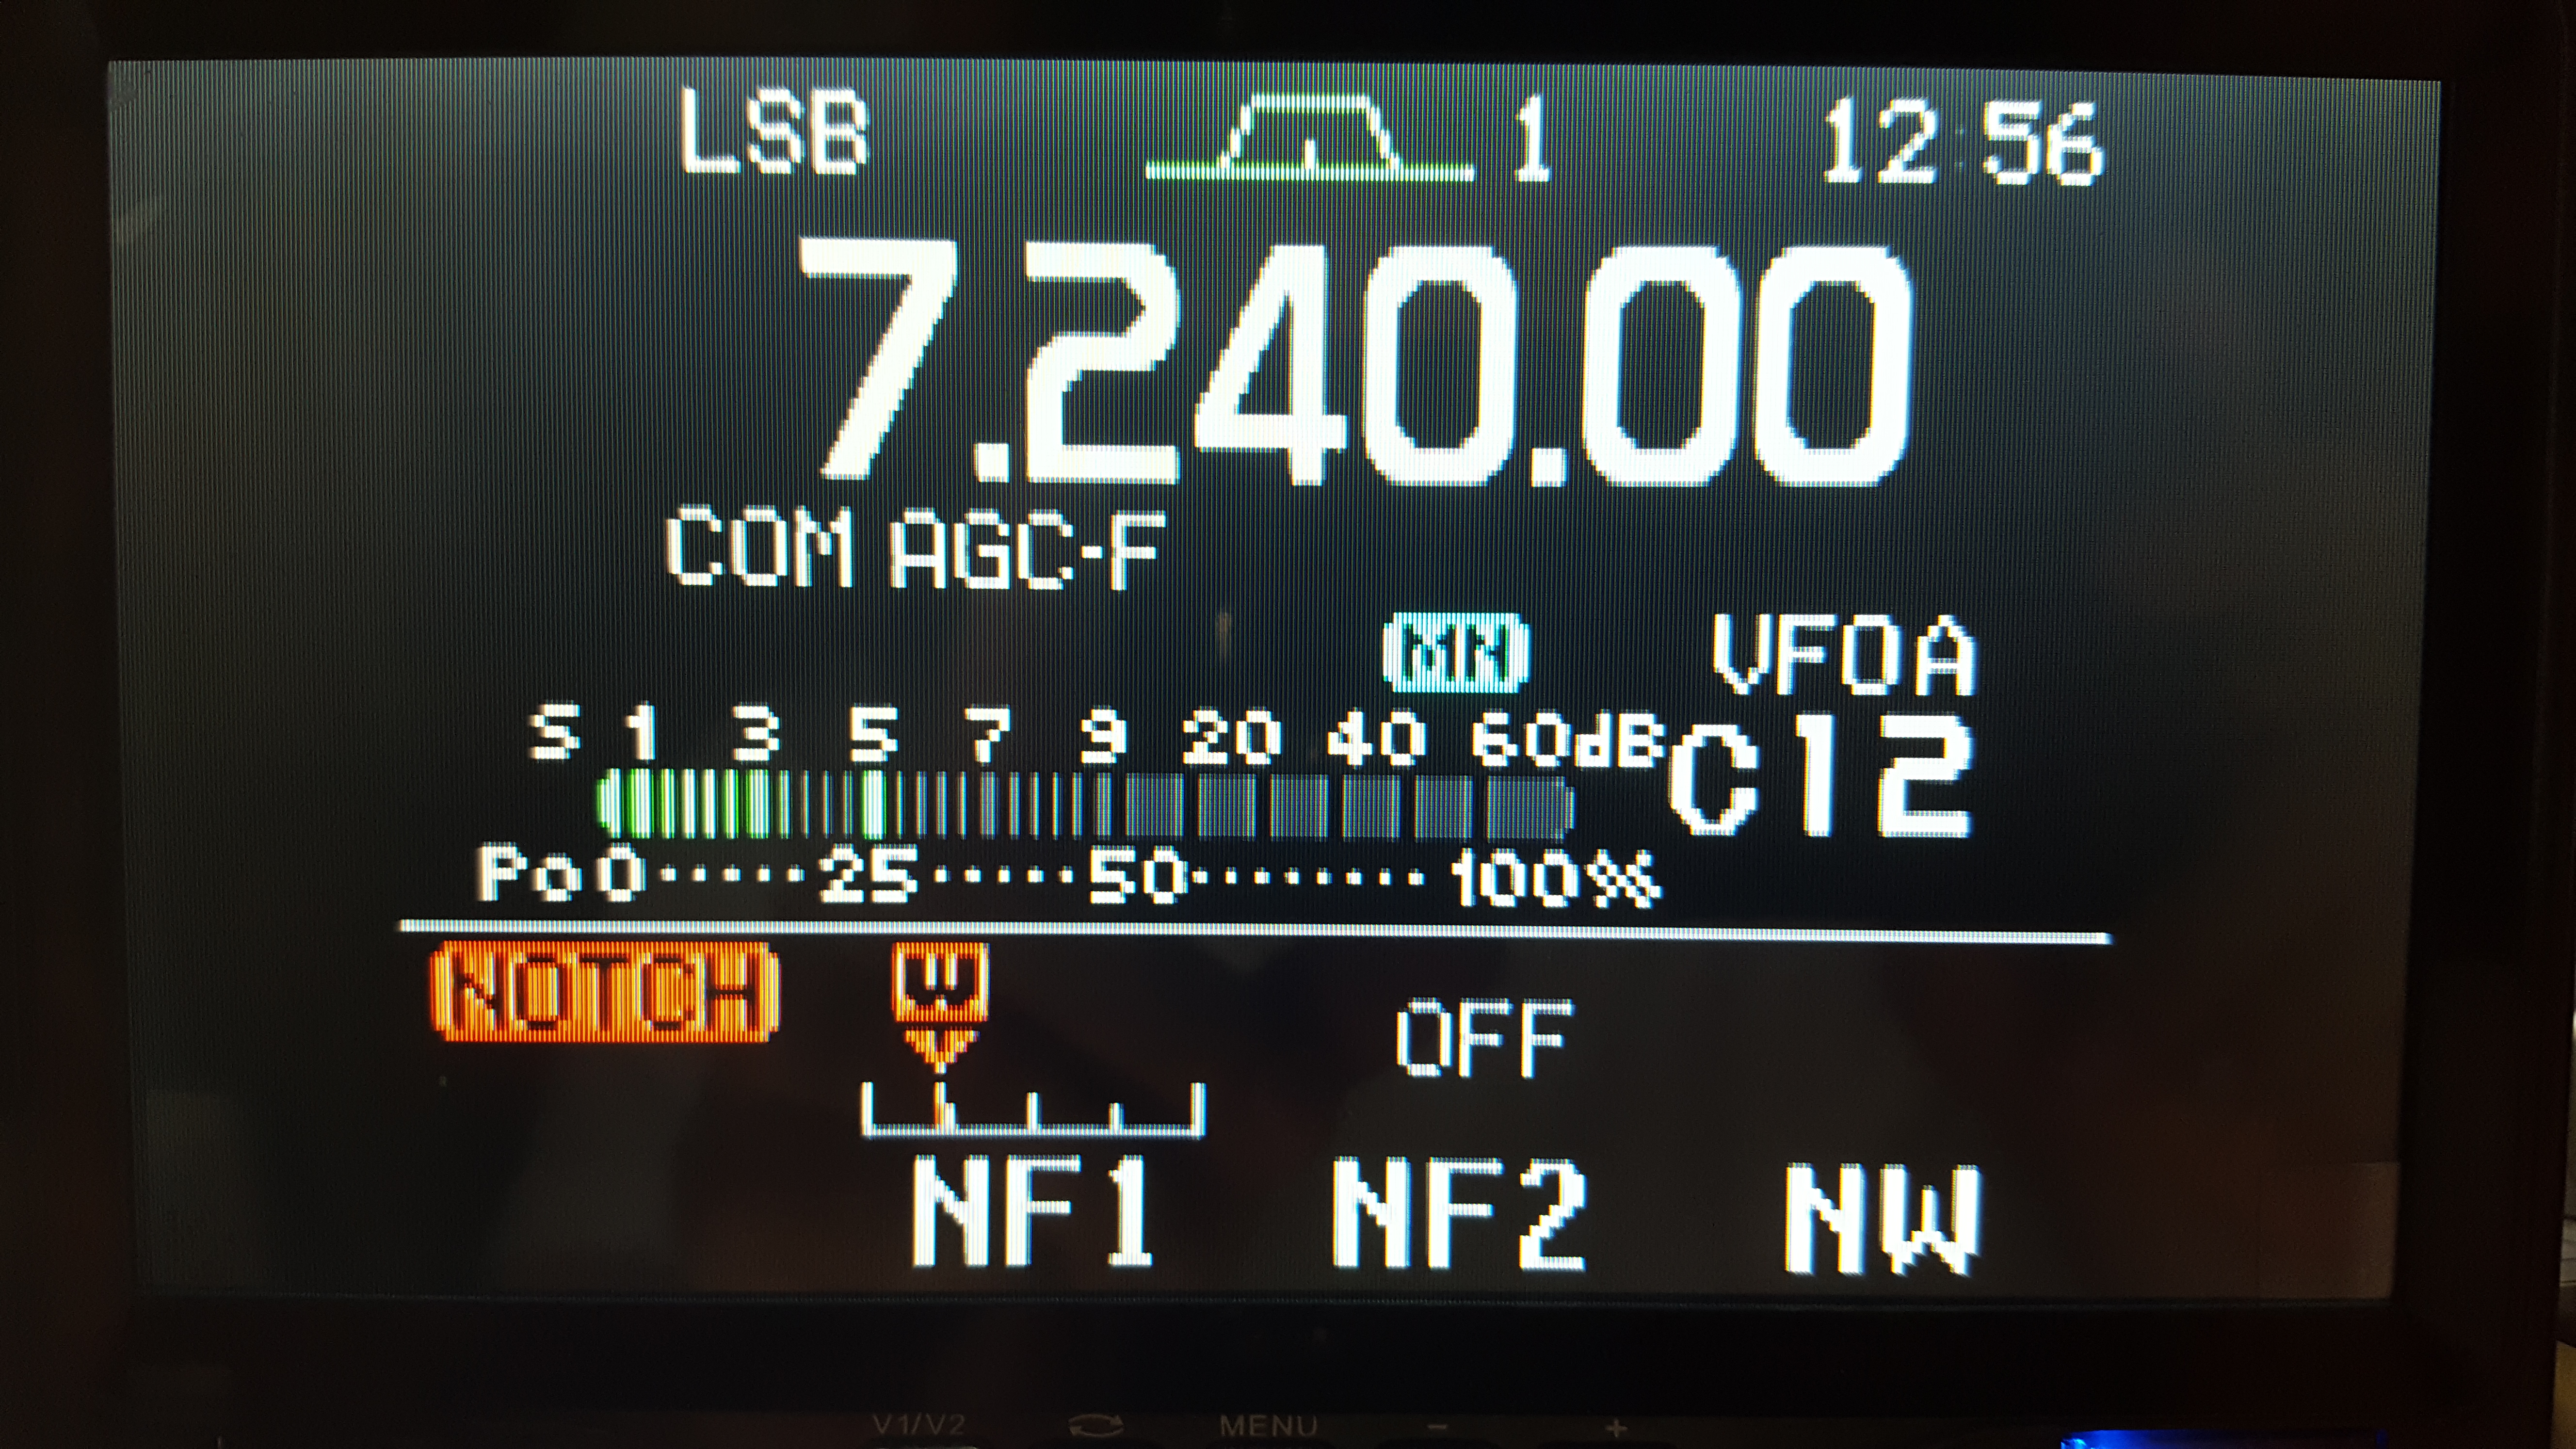
This year I really didn’t have a lot on the Dayton shopping list. I wanted to take a look at the new ICOM IC-7300. That is a very nice radio and a huge improvement over my IC-7000. I didn’t pull the trigger on that for some reason. I’m reluctantly holding off. The newer radios are coming with built in USB. For someone looking to get into HF digital check out the newer radios. You won’t need a SignaLink type device because the sound card is built in!
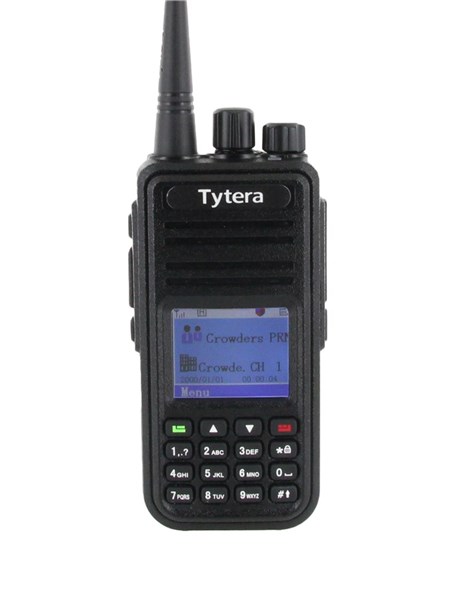 I did attend Dayton with the intent of purchasing a DMR radio. From the amount of people I heard on DMR repeaters and podcasts afterwards, it sounds like they were the popular item this year. For good reason, I picked up a Tytera MD-380 for a little over $100. It included the radio, battery, charging base, 2 antennas, programming cable, and software.
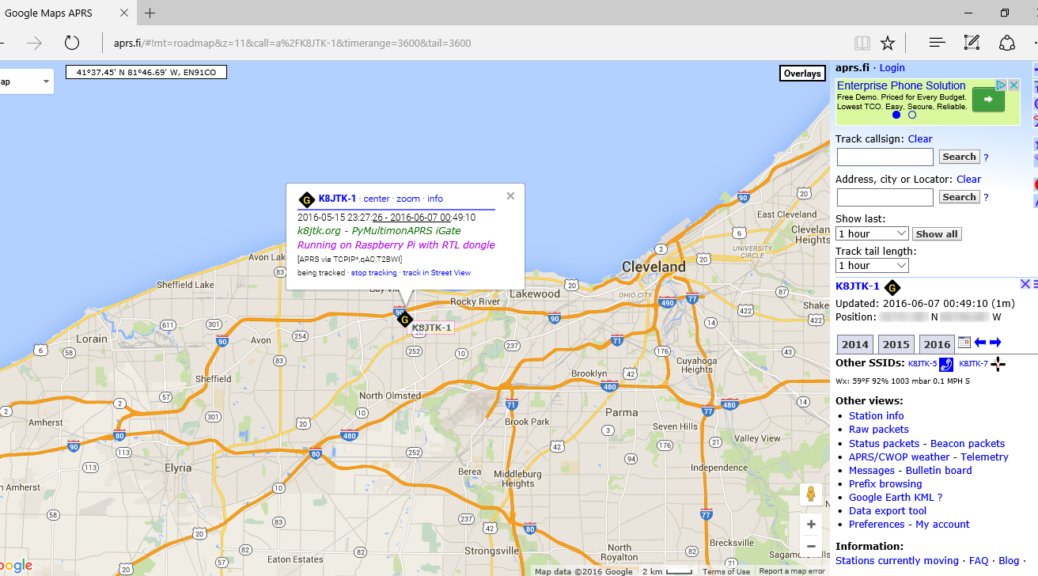
![]() DMR stands for Digital Mobile Radio and is a standard published in 2005 that came from our friends in Europe. It is an open standard (publically available for adoption and modification) and widely adopted for commercial use. In practice manufactures have introduced proprietary features into DMR and created marketing buzzwords like MotoTRBO. With enough surplus hardware available in the market, the price dropped low enough for hams to adopt the standard and setup DMR repeaters. I have a lot to learn about how all this works. There aren’t DMR repeaters in range of my QTH. Couple on the opposite side of town and to the south. There are some repeaters in Toledo and Columbus. The greatest concentration is between Dayton and Cincinnati. Thanks to the folks at the Dial Radio Club in Middleton, Ohio, I had a DMR repeater easily accessible from my hotel room during the show.
DMR stands for Digital Mobile Radio and is a standard published in 2005 that came from our friends in Europe. It is an open standard (publically available for adoption and modification) and widely adopted for commercial use. In practice manufactures have introduced proprietary features into DMR and created marketing buzzwords like MotoTRBO. With enough surplus hardware available in the market, the price dropped low enough for hams to adopt the standard and setup DMR repeaters. I have a lot to learn about how all this works. There aren’t DMR repeaters in range of my QTH. Couple on the opposite side of town and to the south. There are some repeaters in Toledo and Columbus. The greatest concentration is between Dayton and Cincinnati. Thanks to the folks at the Dial Radio Club in Middleton, Ohio, I had a DMR repeater easily accessible from my hotel room during the show.
 New things I saw include scanners from Whistler with DMR (expected June 2016). Following quickly behind was Uniden with the same announcement (no release dates set). If you have a public service agency utilizing a DMR system, you’ll soon have scanner options available. Kenwood showed off their 2m/220/440 radio with APRS and D-STAR (and hopefully DPRS). My dad and I both noticed how incredibly crisp and clear the color display was. Standing about 5-6 feet away we could easily read it.
 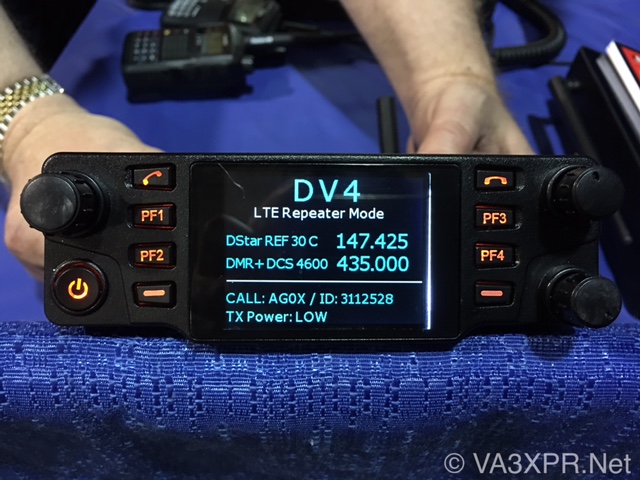 Wireless Holdings showed off a new digital all-in-one radio, the DV4mobile. This thing has ALL the features: 2m/220/440, DSTAR/DMR/Fusion – with P25/NXDN/NEXEDGE coming next year, LTE (as in cellular connectivity), remote programming, remote operation, Ethernet/WiFi, SMS (text messages). Will this thing do my dishes too? Wow. Both Kenwood and Wireless Holdings are expecting release dates in about 6 months.
Thanks to everyone who stopped by the Field Services table at the ARRL Expo. I had a great time chatting with hams from England and exchanging ideas. It was fun meeting those in Newington who administer the programs we know and love. A lot goes into these programs and there’s a lot of technical research happening. The table was staffed by representatives from the Ohio Section including moi. Scott and his wife Jane spent most of the show at the table making sure everything went smoothly. Huge thanks to them for getting everything organized. It was nice to meet all of you. I picked up a couple books in the store on the way out. More stuff to do!
 Reminder about Windows 10: Don’t forget the free upgrade offer to Windows 10 is set to expire July 29th. You still have about a month to decide on the upgrade. If you missed my April article, I went into great detail about Windows 10 and the push to upgrade users. Check it out on my site or on the Ohio Section Journal site. There is no indication from Microsoft if the upgrade will become a premium option or if they will extend the offer. Some analysts think it will become a pay upgrade others think the upgrade offer will be extended indefinitely. One change, Microsoft is becoming even more aggressive in forcing the upgrade. Didn’t know this was possible but they’ve succeeded. I mentioned in April that clicking the red “X” to close the upgrade pop-up will delay the upgrade. This is no longer true. Microsoft’s new interpretation of clicking the red “X” is an AGREEMENT to the upgrade. This whole upgrade thing is ridiculous. I have no defense for this behavior. If you want to disable the Windows 10 upgrade, run Never10 (https://www.grc.com/never10.htm). Many users are disabling Windows Update to prevent the upgrade. Please don’t. If you have, run Never10 and disable the upgrade. Reboot. Check it’s still disabled by running Never10 again. Run Windows Updates and let it do its thing. Then run Never10 again to verify the upgrade is still disabled. I’ve been upgrading my machines to Windows 10. It takes some finessing to disable the crap. I do keep coming back to a single question: “why?” Not ‘why did I upgrade’ but ‘why is this useful setting now burred and takes fifteen clicks when it used to be three’ or ‘why would you change things (color schemes, color contrasts, move things around for the seventh time) just to change things?’ Haven’t yet taken the plunge to wipe-out my machine in the shack.
Technical Specialist report:
With summer and projects gearing up, requests have been coming in. Bob K8MD and a good friend of his Dave NF8O traveled to the Ohio Veterans Home station, W8OVH, in Sandusky. They have a sideband station and wanted an upgrade to run digital modes. Bob and Dave spent a few hours working with them to get the station up and running. They trained the club members how to use Fldigi and helped them make their first PSK31 contact! The guys reported it was a humbling experience talking to Vets who served in major conflicts from WWII to Grenada.
Dave KD8TWG has been busy with presentations for ARES groups. First was a presentation on APRS for Cuyahoga ARES. The presentation touched on history, uses, settings and what they mean, and systems built on the APRS network. There is a lot to APRS and I learned a lot. Soon after he did a “program your radio without a computer” for Geauga ARES. Interesting concept. Most groups bring computer programming in to help newbies program their radio. Knowing how to program a radio without a computer is useful during an event or public service activity where improvisation is likely needed. Could you change PL tone on your radio and save it in memory though the front of your radio? Programming a temporary repeater that has a 1 MHz split? DCS, anyone? It’s good to know and practice changing transmit, receive, PL frequencies, and power settings on-the-fly through the front of your radio.
PCARS (Portage County) club members contacted me about a moon bounce (EME) presentation. This is an area I wasn’t familiar with or knew anyone who operated. I reached out to the assembled mass of Technical Specialists. Tracey – W8TWL came through with a couple contacts. Got PCARS in touch with one of them and they are working out the details for the July 11th meeting. I’m hoping to make this meeting and see a great presentation on Earth-Moon-Earth.
Thanks for reading and 73… de Jeff – K8JTK
Img: VA3XPR, raspberrypi.org