User configuration
This will configure the users allowed to access the VPN tunnel using the web interface of the OpenVPN Access Server. These users will have access to the remote network.
You WILL need to know the network IP addressing of the remote network (an IP address in the network and the subnet mask. More details below).
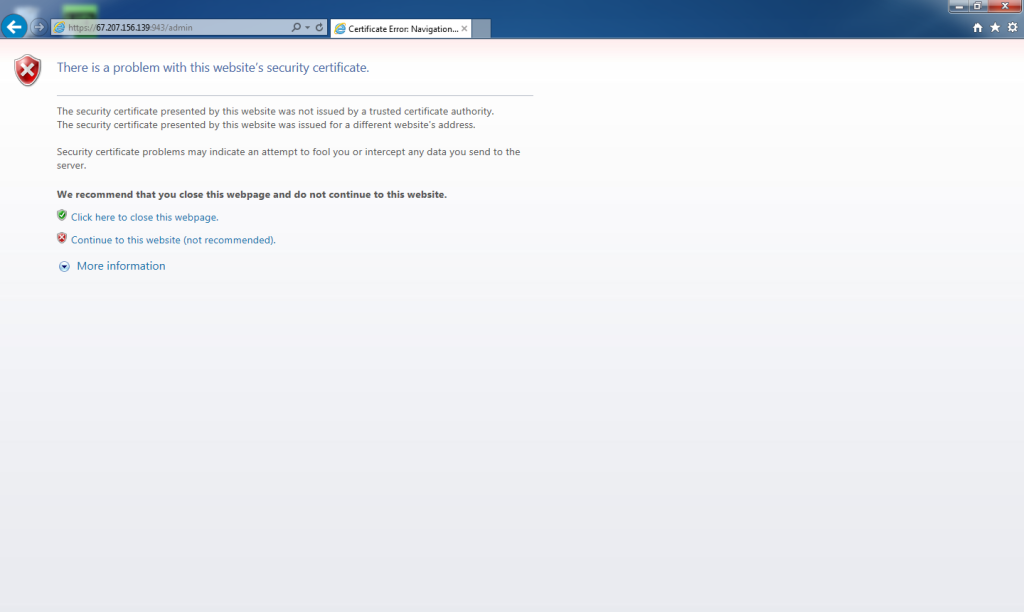 Go back to the web browser and enter the URL for “Admin UI.” This would be
https://67.207.156.139:943/admin
This URL was given at the end of the OpenVPN Access Server configuration.
You will be presented with a certificate error. This is because the OpenVPN Access Server has a self-signed certificate. You will need to bypass this error. Steps required depend on your browser and may require an exception to be added to for this URL. Adding and confirming the exception is a precaution instituted by the web browser to check that you are aware that you will be bypassing this security message.
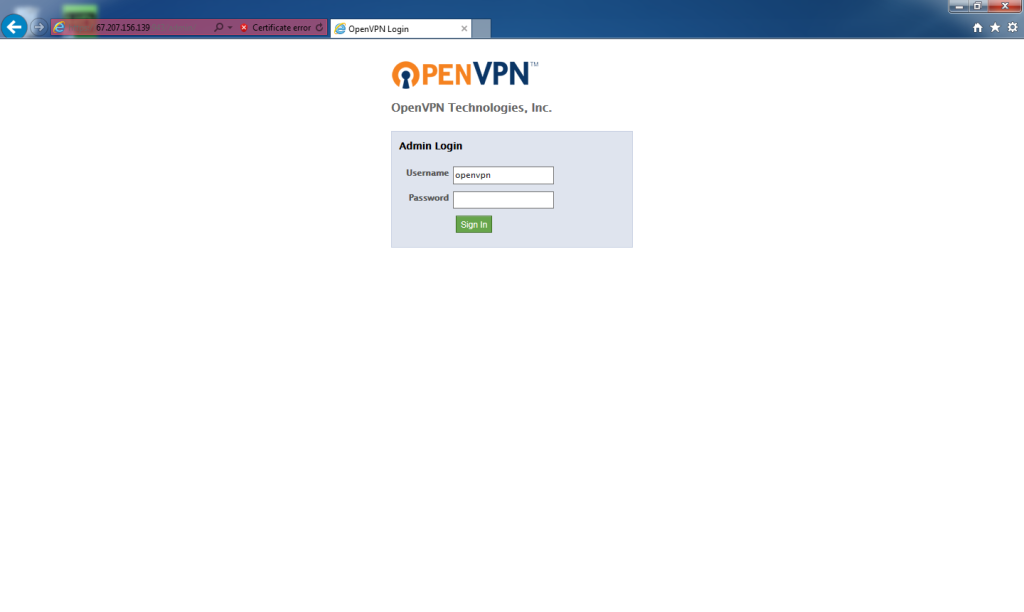 When the error message has been bypassed, the logon will be displayed. For Username enter
openvpn
For password, enter the password you set when running the passwd openvpn command.
Click Sign In.
 When first logging in, you need to accept the license agreement. Click Agree.
Remote site user
The user for the gateway server on the remote network is created.
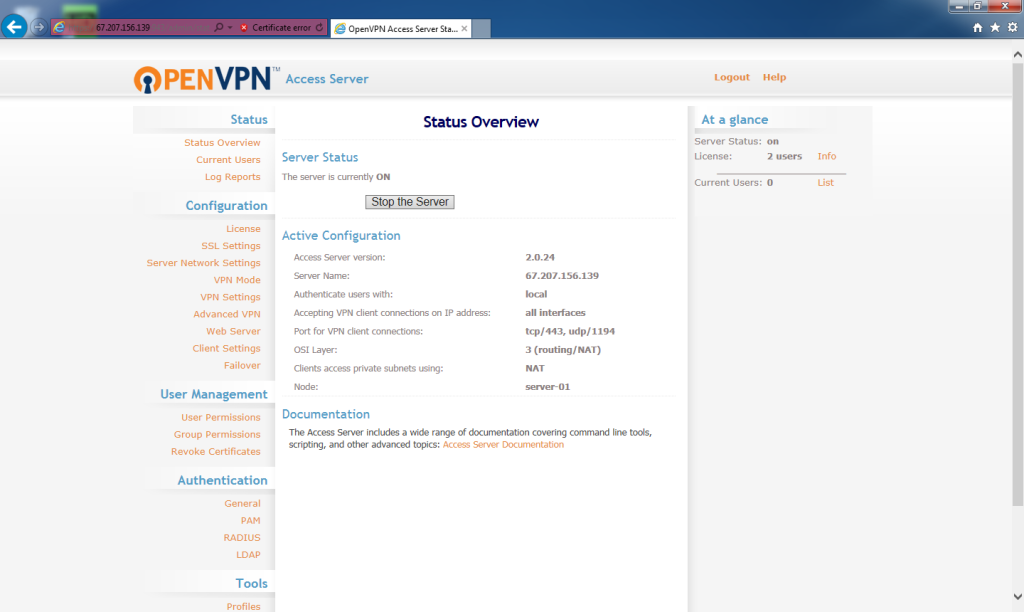 At the Status Overview page, under User Management, click User Permissions.
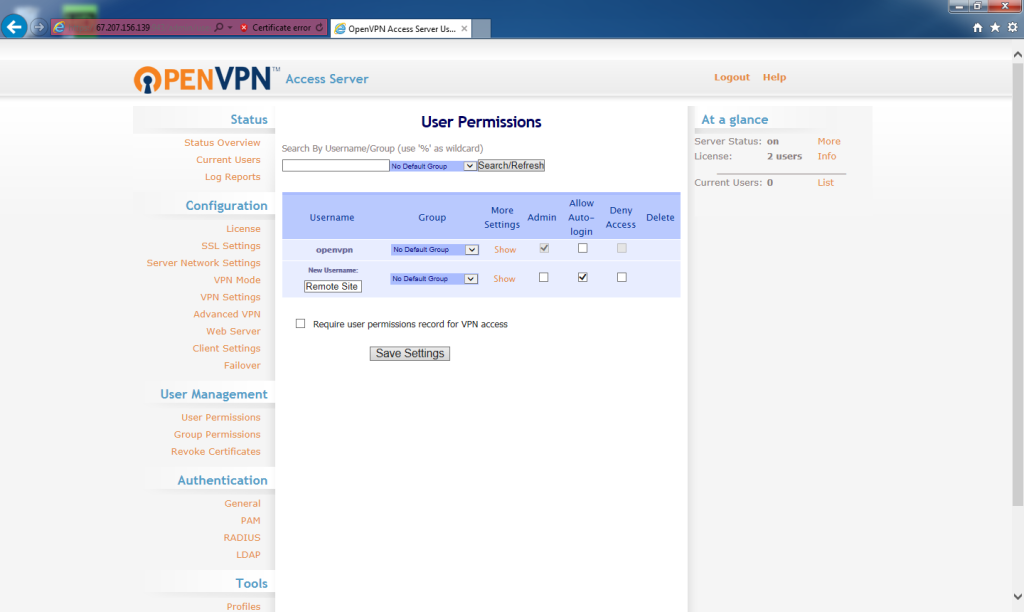 The User Permissions screen lists all the usernames in use on the OpenVPN Access Server. Under the Username column, for New Username, enter
Remote Site
This can be anything but must be consistent across the rest of the instructions. Usernames are case sensitive!
Check Allow Auto-login.
Click Save Settings.
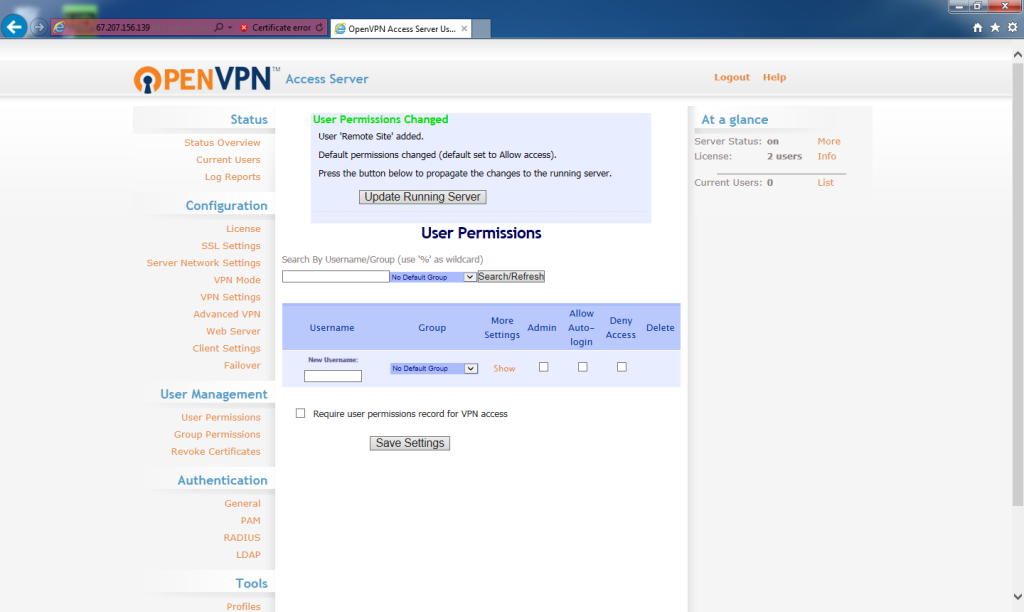 The user will be added. To update the server, click Update Running Server.
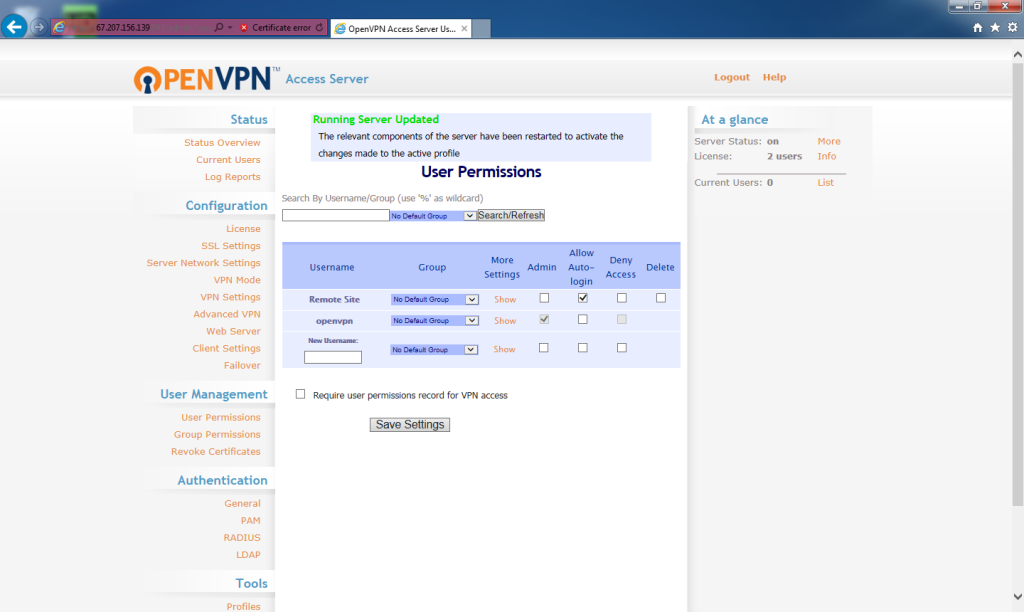 With the Remote Site user created, under More Settings, click Show.
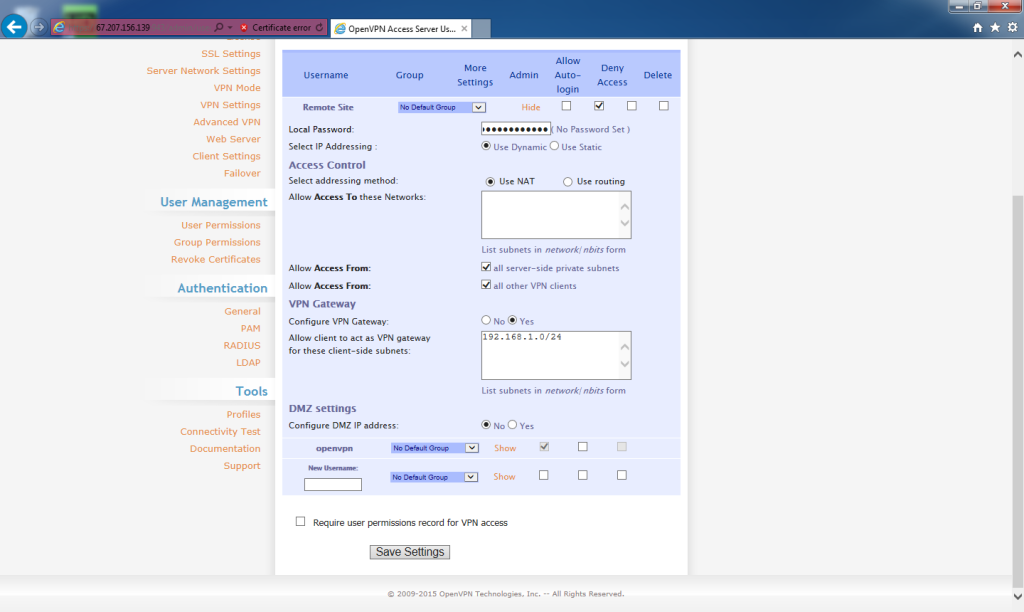 Create a password for the remote network user.
Under Access Control, for Allow Access From, check all server-side private subnets. Check all other VPN clients.
Under VPN Gateway, for Configure VPN Gateway, select Yes.
Allow client to act as VPN gateway for these client-side subnets, enter
192.168.1.0/24
Here is where you will need the network prefix and subnet mask of the remote site network to determine the correct input. Typically a quick ifconfig on the Linux box at the remote site will help determine most of the information. A quick crash-course in IPv4 subnetting and CIDR notation and blocks (Classless Inter-Domain Routing) is needed if you have trouble determining this information.
Click Save Settings.
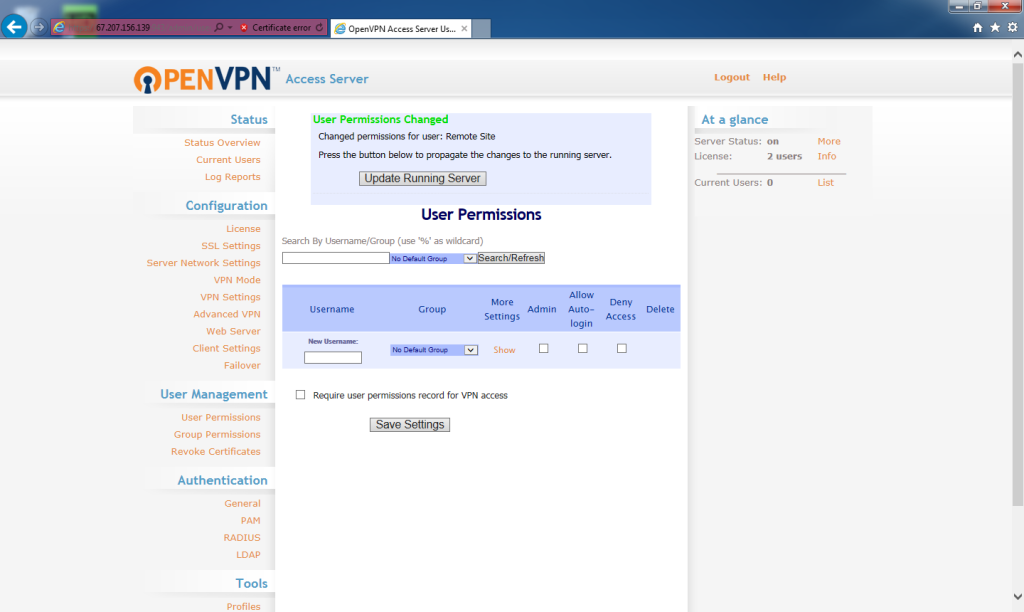 The user settings will be saved. To update the server, click Update Running Server.
Home user
The home user will be created.
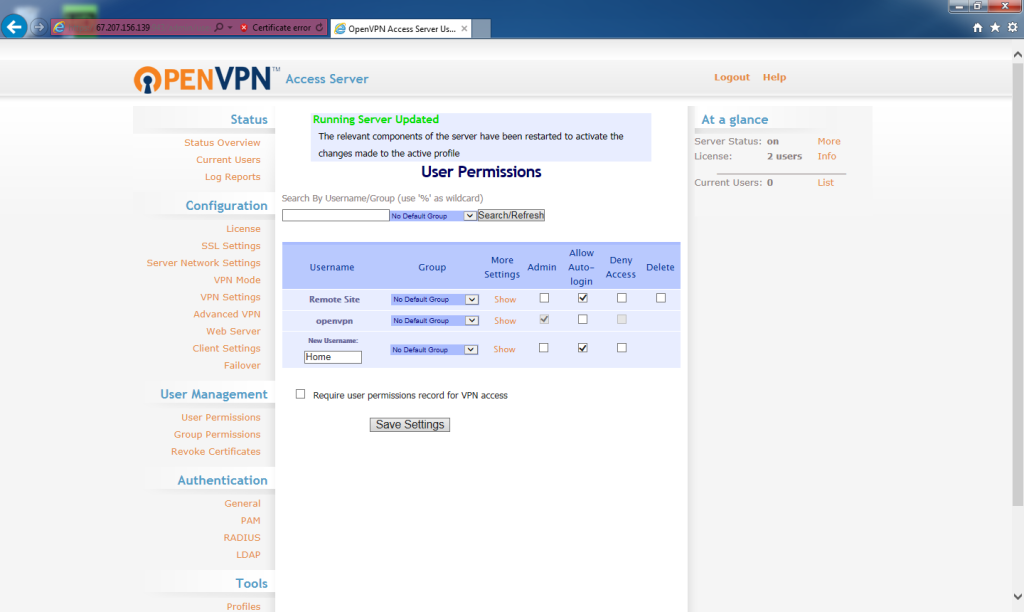 At the Status Overview page, under User Management, click User Permissions.
The User Permissions screen lists all the usernames in use on the OpenVPN Access Server. Under the Username column, for New Username, enter
Home
This can be anything but must be consistent across the rest of the instructions. Usernames are case sensitive!
Check Allow Auto-login.
Click Save Settings.
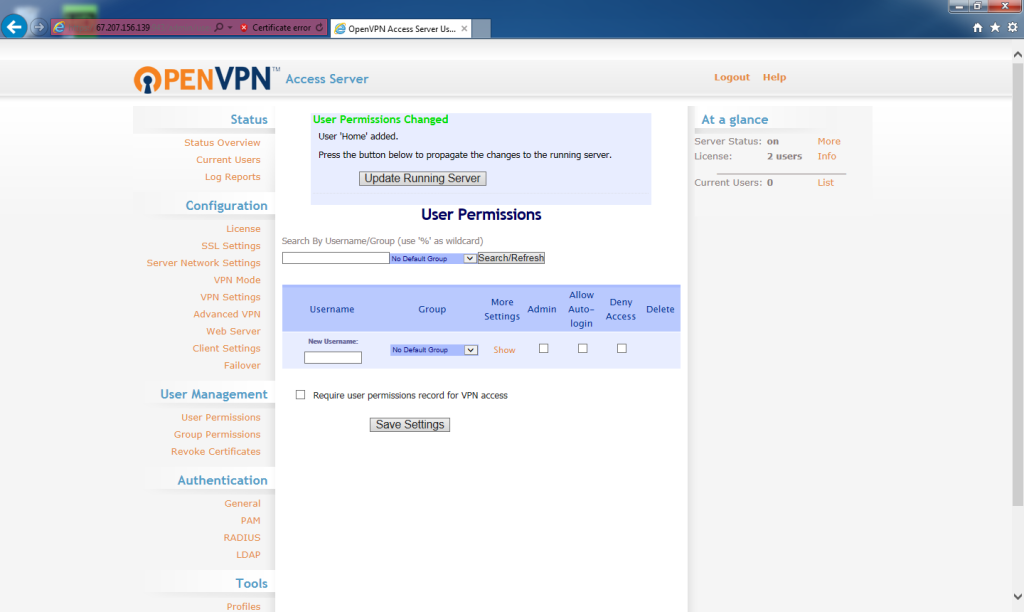 The user will be added. To update the server, click Update Running Server.
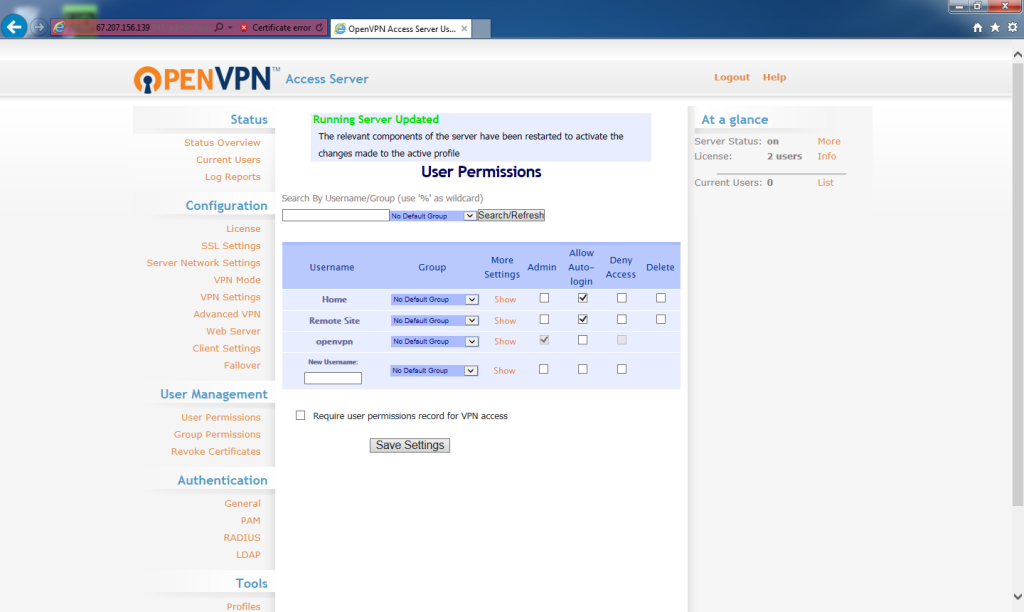 With the Home user created, under More Settings, click Show.
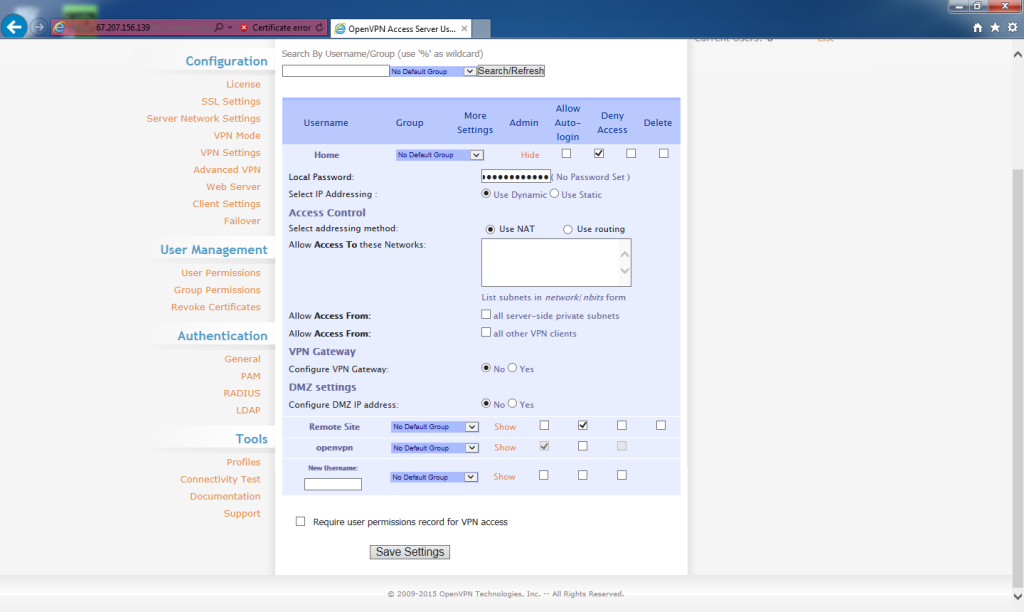 Create a password for the Home user. This will used to download the OpenVPN Connect application.
Click Save Settings.
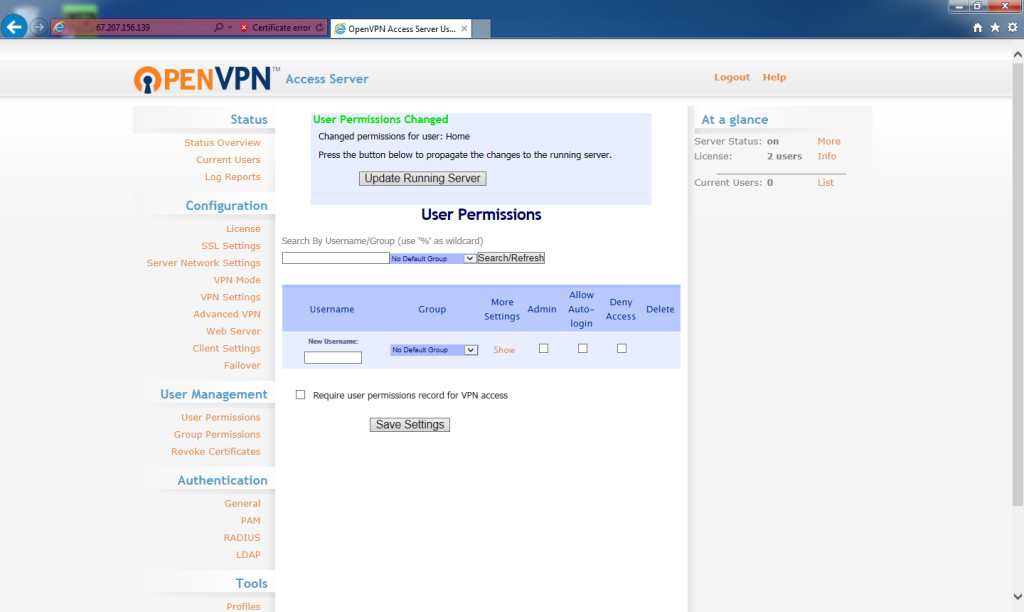 The user settings will be saved. To update the server, click Update Running Server.
OpenVPN Access Server users are setup!
Other bits
Settings on the More Settings pages for each user can be made on the fly after the fact and have no effect on the download profile.
As many ‘Home’ users can be created as desired. Only two concurrent users can be connected to the VPN.
