9/26/2017 update: This is a less effective way of calibrating Fldigi.
The officially recommended calibration method is to use a time standard such as WWV and WWVB. Details are in the Fldigi manual.
I’ll update or create a post as time permits with more details. This post and instructions below will be left for reference and should be considered archived.
Archived from: pa-sitrep [dot] com
Archive reason: domain expired, server shutdown, or otherwise unaccessible.
Notes: I had a copy of both the program and the text, I am re-posting both. Unfortunately it only is available for Windows.
Check the Fldigi tag for my posts running it on the Raspberry Pi or how to use Fldigi.
If you’re concerned about downloading the exe, it was analyzed by VirusTotal and showed 0 detections. The hashes are below and the SHA256 can be compared against the VirusTotal link.
SHA1
396A6ADB43BC76CB48E72A532B2E2E8FE9834551
396a6adb43bc76cb48e72a532b2e2e8fe9834551
SHA256
EE8BA2B907CBCF2551899808ECF717BE61CA76971499CD9EF63F53413114F494
ee8ba2b907cbcf2551899808ecf717be61ca76971499cd9ef63f53413114f494
I do not take any credit for the content or make any claim of accuracy.
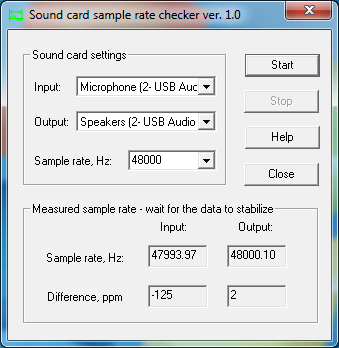
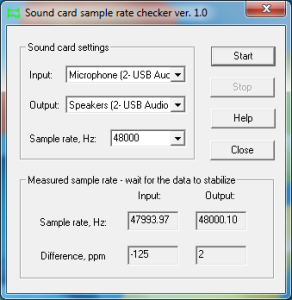
1) Download and save CheckSR.exe to your desktop. This is a small, standalone, application that consist of a single exe file. When you double click on it, once it’s saved to your desktop, it provides the capability of analyzing your sound card offsets and gives you the corrections in parts per million (ppm):
http://www.k8jtk.org/drive/ham_radio/digital_modes/checksr/CheckSR.exe
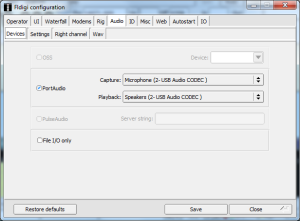
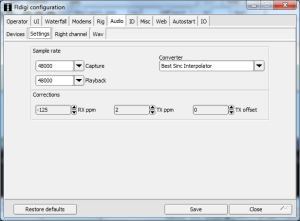
2) Open NBEMS/FLDIGI, go to configure, defaults, sound card, audio devices tab and make sure you have the sound card you use for your interface properly selected from the capture and playback drop down choices. Then click the audio settings tab.
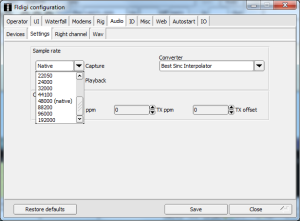
3) Under the audio settings tab, you should see a sample rate drop down box for capture and playback. Under each drop down box, select the sample rate that has (native) listed after it and take note of this figure. Click save config, then click save. Close FLDIGI.
Note: the ‘capture’ sample rate is the only one that seems to have the ‘native’ designation. The playback and capture should be the same.
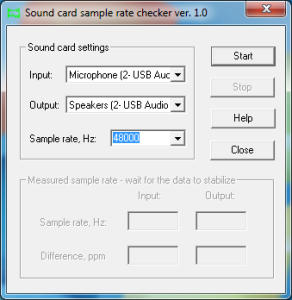
4) Going back to CheckSR, open the application (if it’s not already open, double click on the desktop icon now) and from the drop down boxes for sound card settings, Input and Output, choose the sound card you are using with FLDIGI. Next, select the sample rate from the drop down box in CheckSR for the sample rate that FLDIGI showed as “Native” then click start.
5) Let the application run for about 15-20 minutes. You will notice that the numbers will progressively stabilize. After about 15-20 minutes, click stop then write down the resulting figures on input and output for the measurements in Hz and PPM. Keep this record.
6) Open FLDIGI, go to configure, defaults, sound card and click on the audio settings tab. Enter the PPM figures for RX ppm (CheckSR ppm Input figure) and TX ppm (CheckSR ppm Output figure). If you had a figure that resulted in a minus from CheckSR, enter the PPM setting with the minus symbol followed directly by the figure with no space. Then click save config, then close.
Although this procedure does not seem to be necessary for MT63 2k long on FM, it is advisable that anyone using FLDIGI, regardless of modes used, should perform this procedure immediately following setup. Once these calibrations are applied to the software, no changes should ever have to be made again, unless you change your software to radio interface sound card.
