Final steps
Linux groups
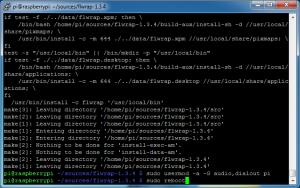
User may need to be a member of the ‘audio’ and ‘dialout’ groups.
sudo usermod -a -G audio,dialout pi
sudo reboot
Audio Settings
Connect via VNC to the Pi.
Click Menu.
Click Preferences.
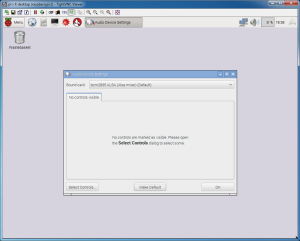
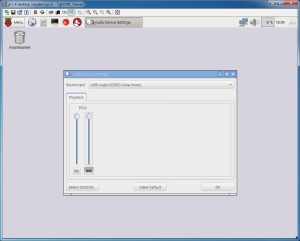
Click Audio Device Settings.
The bcm2835 ALSA should be selected.
Click Make Default.
Making the internal sound card the default will eliminate your radio transmitting when sounds are played not intended for transmit.
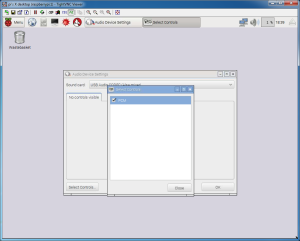
For Sound Card, select USB Audio CODEC.
Click Select Controls.
Check PCM.
Click Close.
Set the volume to 100%.
Click OK.
NOTE: with the current setup the capture levels cannot be adjusted. Typically this happens when something is not supported or implemented by the operating system. One way might be to force a capture tab in ALSA using a custom configuration file. I had some success installing pavucontrol but the Pulseaudio server was not staring automatically. When a decent solution can be obtained it will be documented and added to these instructions.
sudo apt-get install pulseaudio pavucontrol
Menu
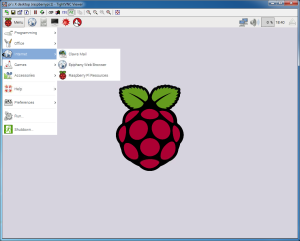
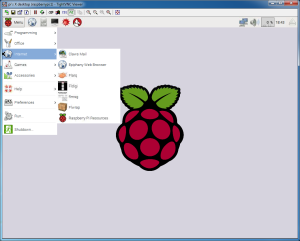
All applications will be available under the Menu in the “Internet” or “Ham Radio” group.
There is a bug in Jessie where the programs may not available in the Menu.
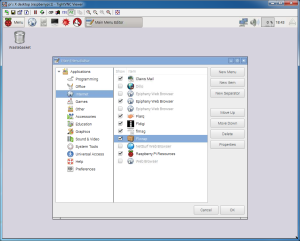
To fix this, click Menu.
Select Preferences.
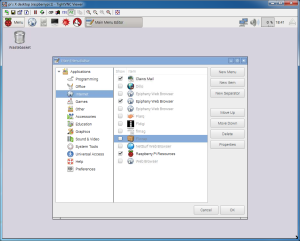
Click Main Menu Editor.
Click the Internet group.
Uncheck Flarq.
Uncheck Fldigi.
Uncheck flmsg.
Uncheck flwrap.
Click OK.
Click Menu.
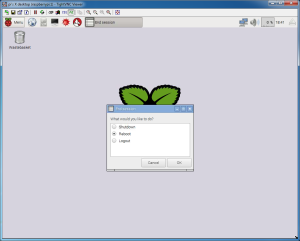
Click Shutdown.
Select Reboot.
Click OK.
Once the Pi is finished rebooting, connect via VNC to the Pi.
Go back to the Main Menu Editor.
Click the Internet group.
Check Flarq.
Check Fldigi.
Check flmsg.
Check flwrap.
Click OK.
The programs will appear in the Menu.
Configuring Fldigi
Fldigi and the other applications can be started. To learn more about configuring and how to use Fldigi, Flmsg, and Flwrap, visit the tutorial I wrote on how to get started.
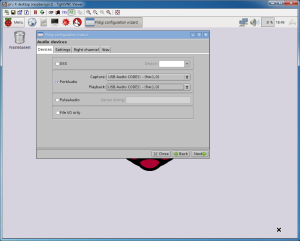
Select USB Audio CODEC for the SignaLink USB.
You can enable rig control on the following page.
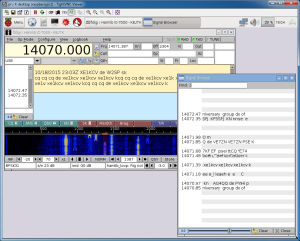
Receiving
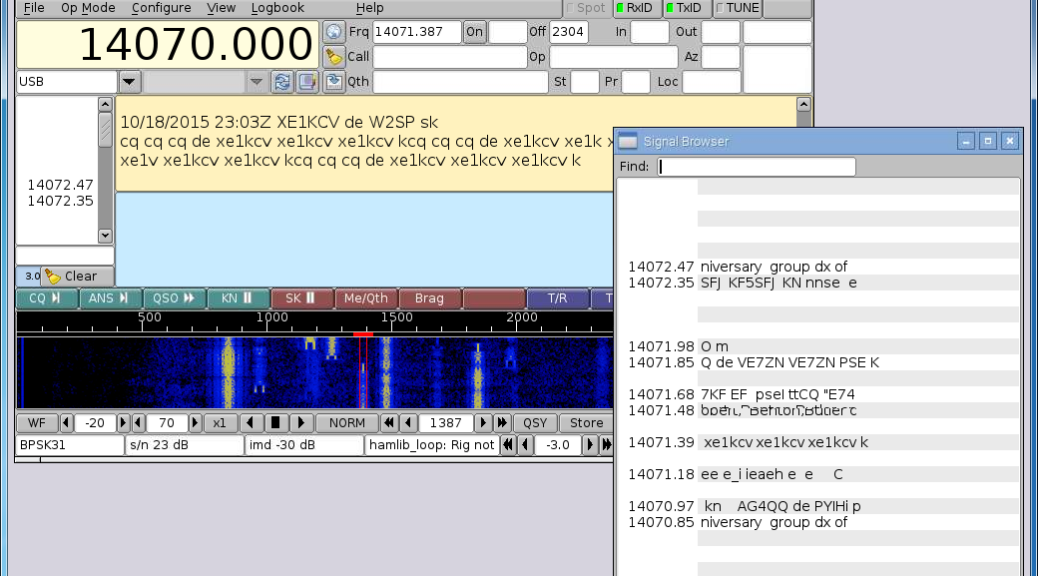
Fldigi receiving 20 meter PSK.
Transmitting
Fldigi and Flmsg transmitting NBEMS MT63-2000L 2 meter simplex.
Congratulations! You now have Fldigi running on the Raspberry Pi!
Other bits
Issues
Capture Device Setting
One issue I noticed is Fldigi seems to not remember or loose the capture device setting. Not sure why this is but hasn’t effected operating yet.
Custom Forms
Some groups designed Custom Forms in Flmsg. Flmsg has a number of forms (ICS, MARS, Radiogram, Red Cross, Weather) already installed. Custom Forms are typically created and used by ARES groups to digitally transmit and submit forms served agencies use. These could be: assessments, patient tracking, or request forms. Custom forms are placed in the /home/username/.nbems/CUSTOM or C:\Users\username\NBEMS.files\CUSTOM directories.
Delete sources
You can delete the /home/pi/sources/ directory to free up space. Keep the source archives in the Downloads directory to remember which versions or keep a history of versions installed.
rm -rfv /home/pi/sources/
User directories
If you’re having issues with Fldigi or want to reset its settings, move or delete /home/pi/.fldigi
Reset Flmsg, move or delete /home/pi/.nbems
NOTE: this directory includes your transmitted and received NBEMS messages.
Directory names preceded with a period or dot are hidden directories. To see these in ls, use the ‘-a’ option.
Browser
I recommend installing Firefox or Chromium browser on the Pi. Jessie comes with LibreOffice installed, very nice!
Firefox
sudo apt-get -y install iceweasel
Chrome
sudo apt-get -y install chromium
Printing
I suggest installing and getting familiar with CUPS (Common Unix Printing System). This can be useful if you need to PRINT a received message and a printer is available via USB or network connection. This guide might help.
Duplicating
Once you have a clean image (doesn’t have browser history, transmitted messages, etc.) it can be duplicated using the Win32DiskImager. This is useful for a communication operations center with multiple Pis running Fldigi.
Shutdown the Pi correctly.
Put the SD card with Fldigi back into the PC computer.
In Win32DiskImager, click the blue folder. Navigate to the directory to store the image, name the image, add .img -because Win32DiskImager doesn’t. Name it something you’ll know is the clean version of the Fldigi install.
Verify correct drive letter of the SD card is selected.
Click Read. The card will be read and stored on the PC hard drive. Remember, if you have a SD 32 GB card, you’ll need 32 GB of HDD space. The exact same size cards (or larger) will be needed for the other installations. There might be a way to make the image for smaller cards, but I don’t think it will be easy.
Eject the card and then write the saved image to the other cards.
32 GB class 10 cards take about an hour (probably faster) to read and another hour to write.
